In a previous post I walked through the steps of using Postman to query the RESTful APIs for Veeam Enterprise Manager. More recently I have had the opportunity to install and test the Veeam Availability Console (VAC) and was interested to find out what API calls could be made and what useful information could be retrieved from this soon to be released product. In this post I’ll go through the new Swagger API explorer and similar steps for using Postman.
Veeam Availability Console
The Veeam Availability Console is a cloud-enabled platform for service providers and Enterprises with distributed environments. It allows Enterprises to easily and effectively manage estates of hybrid cloud, remote offices and mobile users. For service providers VAC provides a central management/deployment point for their Veeam Backup and Replication Services
https://go.veeam.com/availability-console
I’m not going to go through the installation of the product, for that I will direct you to an excellent series of blog posts from Luca Dell’Oca
Get Your Swagger on!
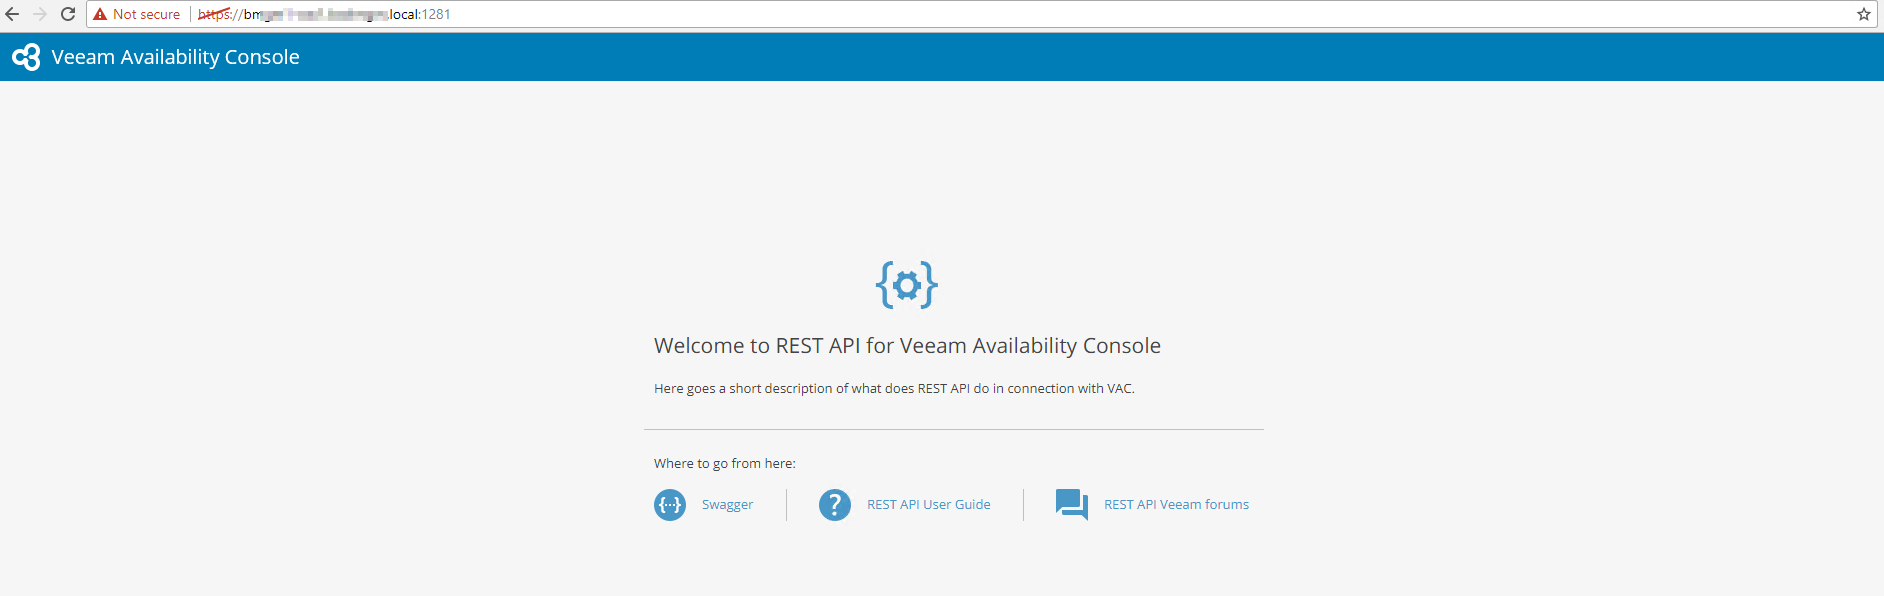
Veeam Availability Console is one the first Veeam products to incorporate the Swagger API explorer. The API explorer allows users to make API queries right from their browsers. Accessing the API browser is via the following url:-
https://:<VAC-SERVER-IP_or_FQDN>1281
*Note the reason for the SSL error is I’m using a self-signed cert in my VAC lab.
Click on the Swagger link
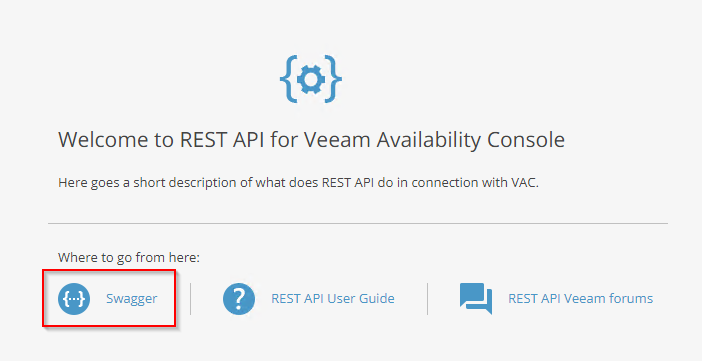
And you’ll be taken to
https://:<VAC-SERVER-IP_or_FQDN>1281/swagger/ui/index

From here you can browse the available API calls and run them against your VAC server, but 1st you’ll need to authenticate your session.
VAC Swagger Authentication
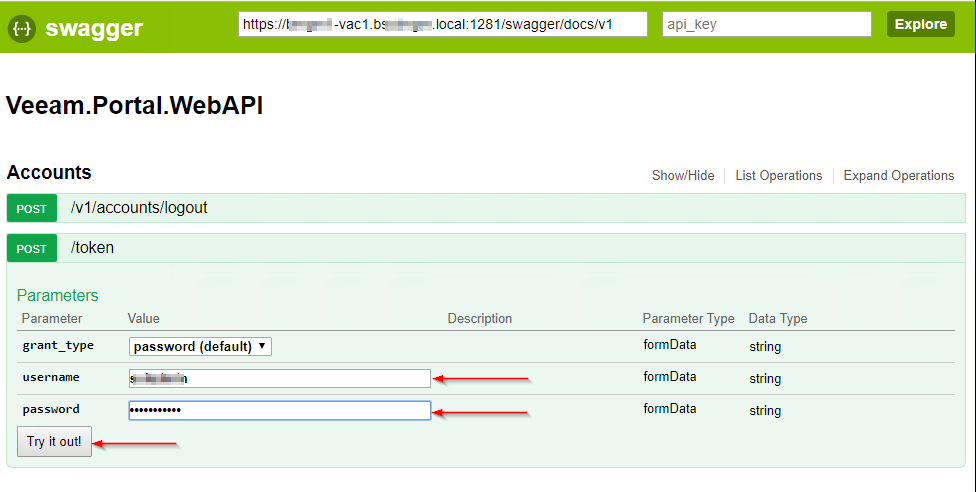
1. Click on the Accounts header
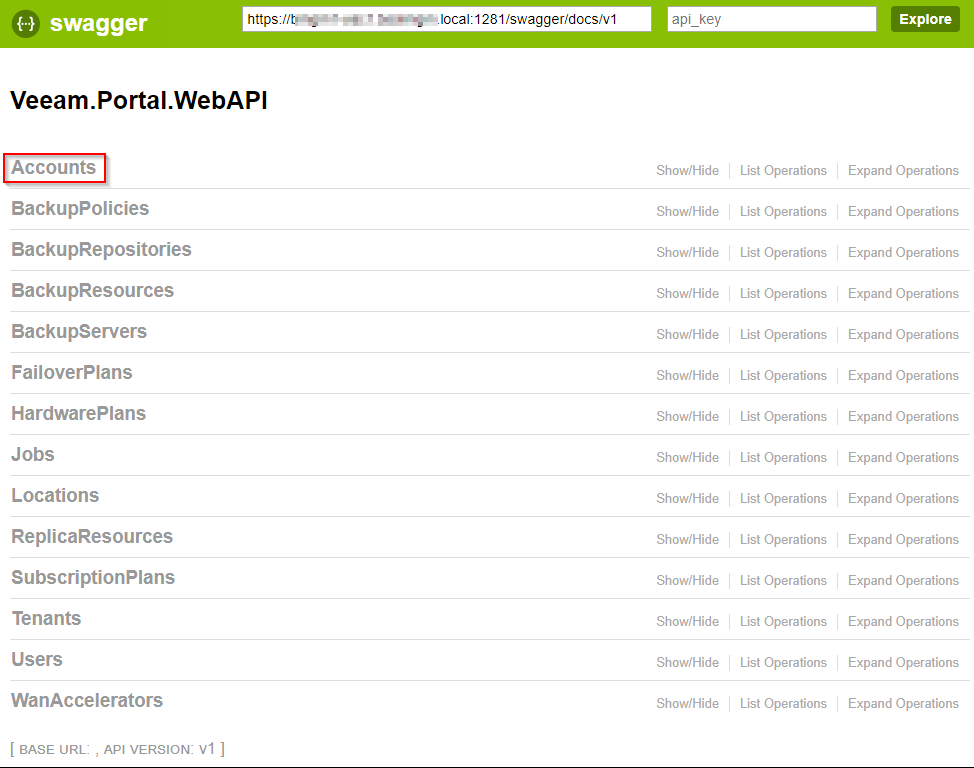
You’ll now see the 2 API calls available
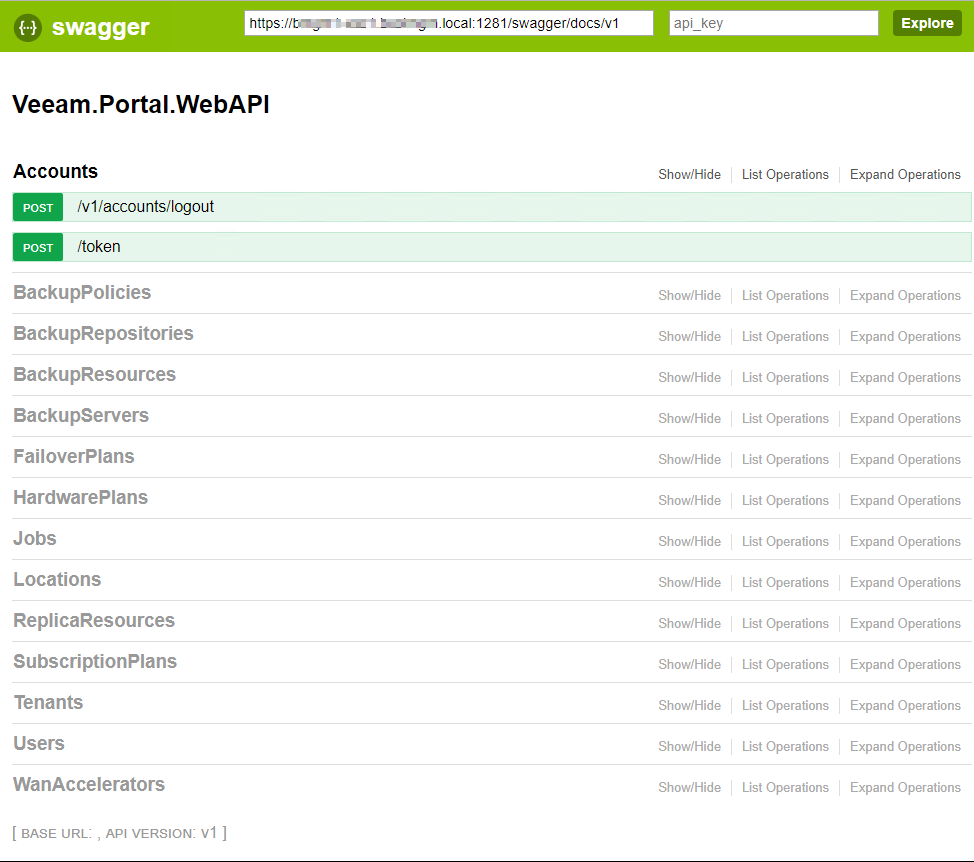
2. Click on POST/token

3. Enter the credentials of a VAC user, and click Try it out!
4. If successful you will see the following information:-
Curl syntax
Request URL
Response Body
Response Code
Response Headers
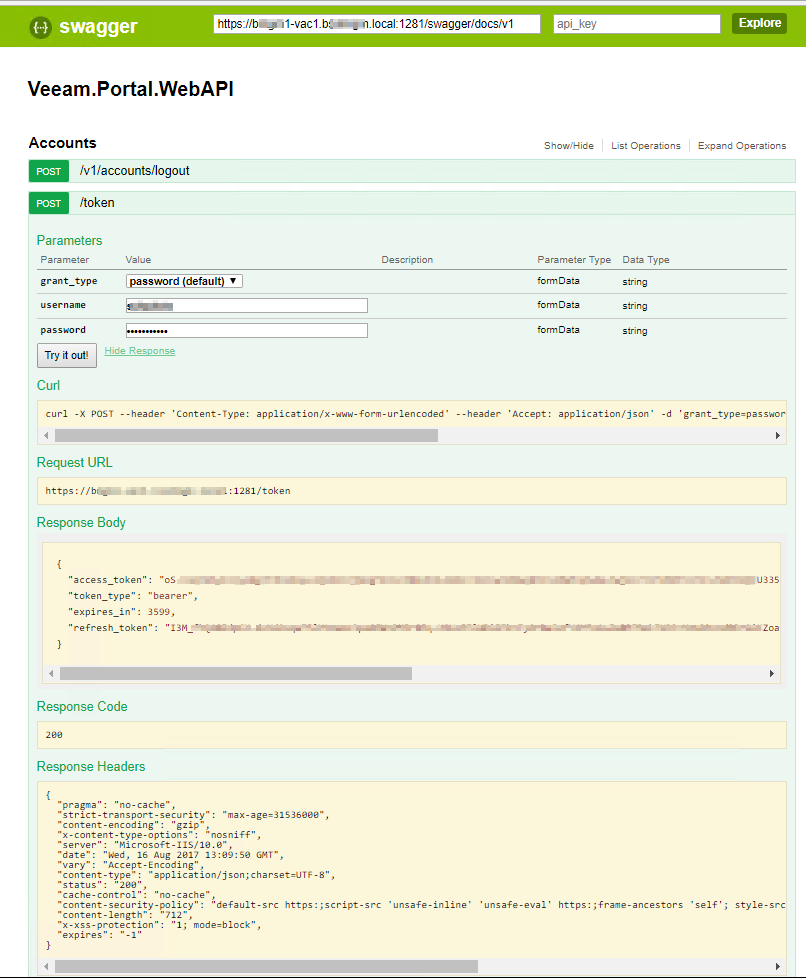
Be aware that the token is only valid for 15 mins, after this time you will need to either acquire a new token or refresh the current token. If you intend to refresh the token (see next section for process) then take note of the refresh token string. THIS IS A DIFFERENT STRING FROM THE ACCESS_TOKEN
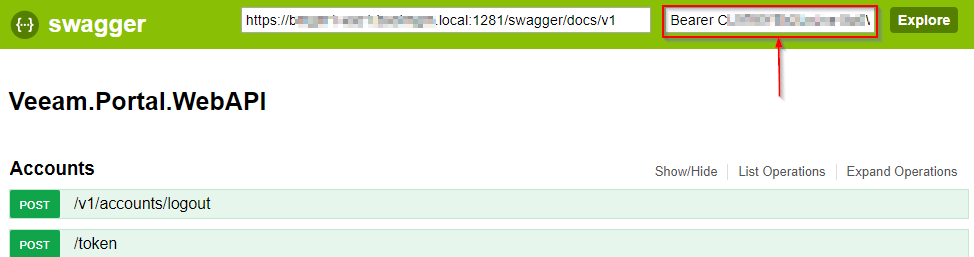
5. Copy the access_token string inside the ” “ and paste into the api_key box at the top right of the page prepended with the word Bearer (NB Bearer is case sensitive)
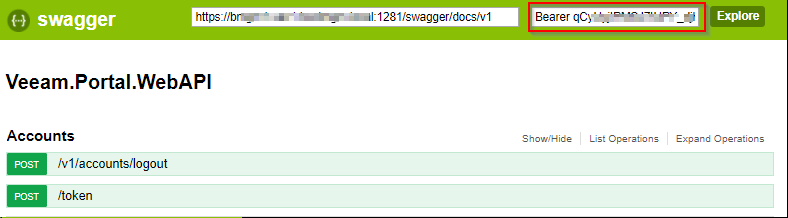
Click Explore
6. You now have an authenticate session. You can use the Swagger UI to explore the various API calls, and try them out in your browser session.
Refreshing API token
1. The steps are similar to generating a new token, but instead of grant_type being set to password select refresh token from the drop down selection
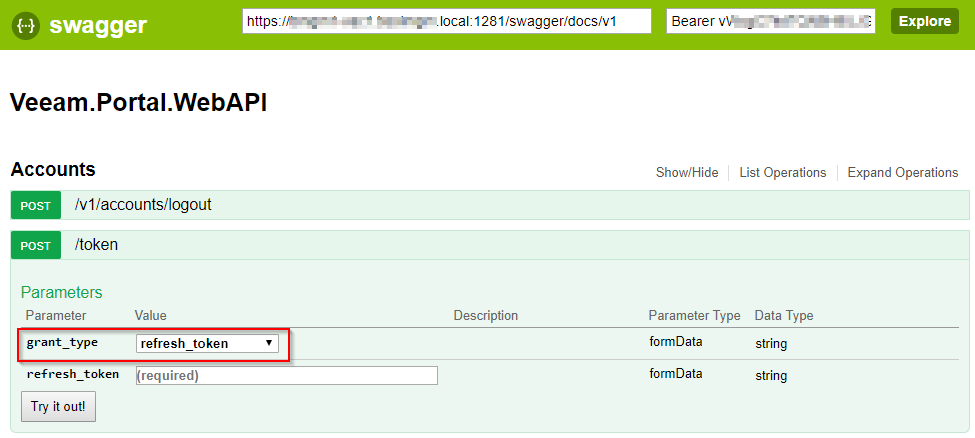
2. Insert the token string and click Try it out!
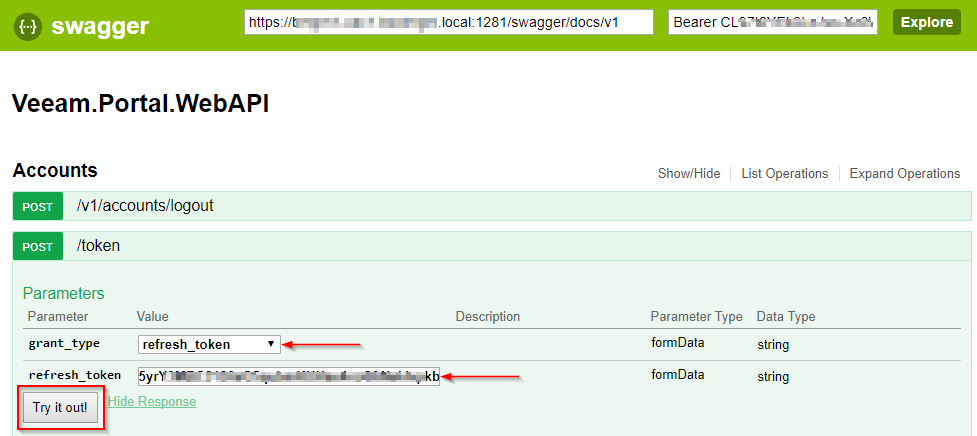
3. Be aware this will generate a both a new access_token and a new refresh_token , the new access_token will need to be updated in the api_key field
Example API data
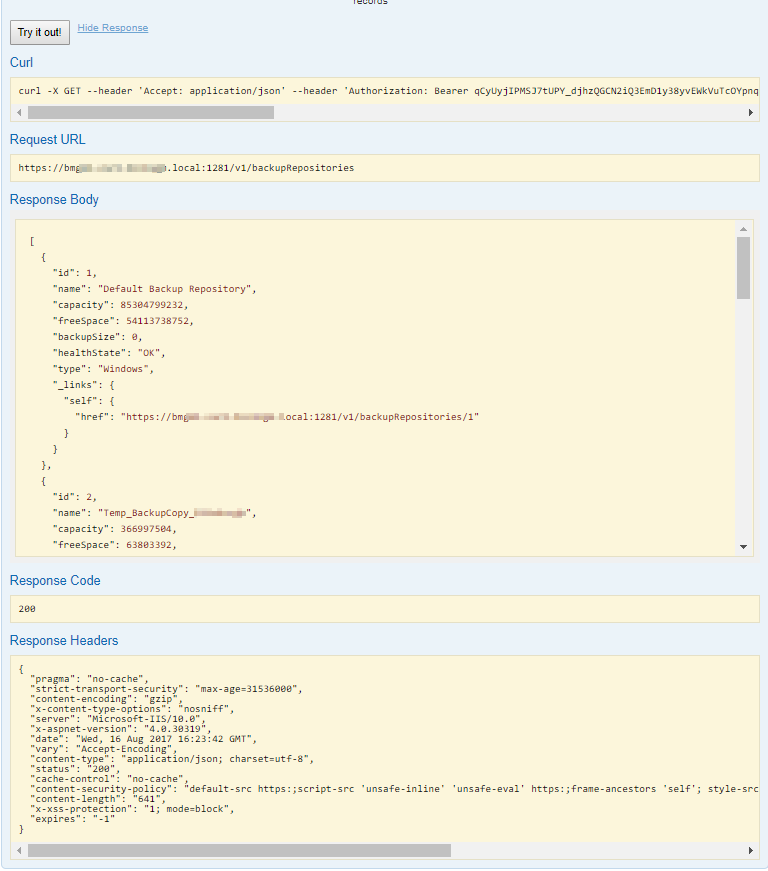
Using the authenticated session retrieving data via API calls is very straight forward. For example let’s see what data we can get from out Backup Repositories.
1. In the VAC Swagger UI click on BackupRepositories

2. From the 2 options select GET /v1/backupRepositories
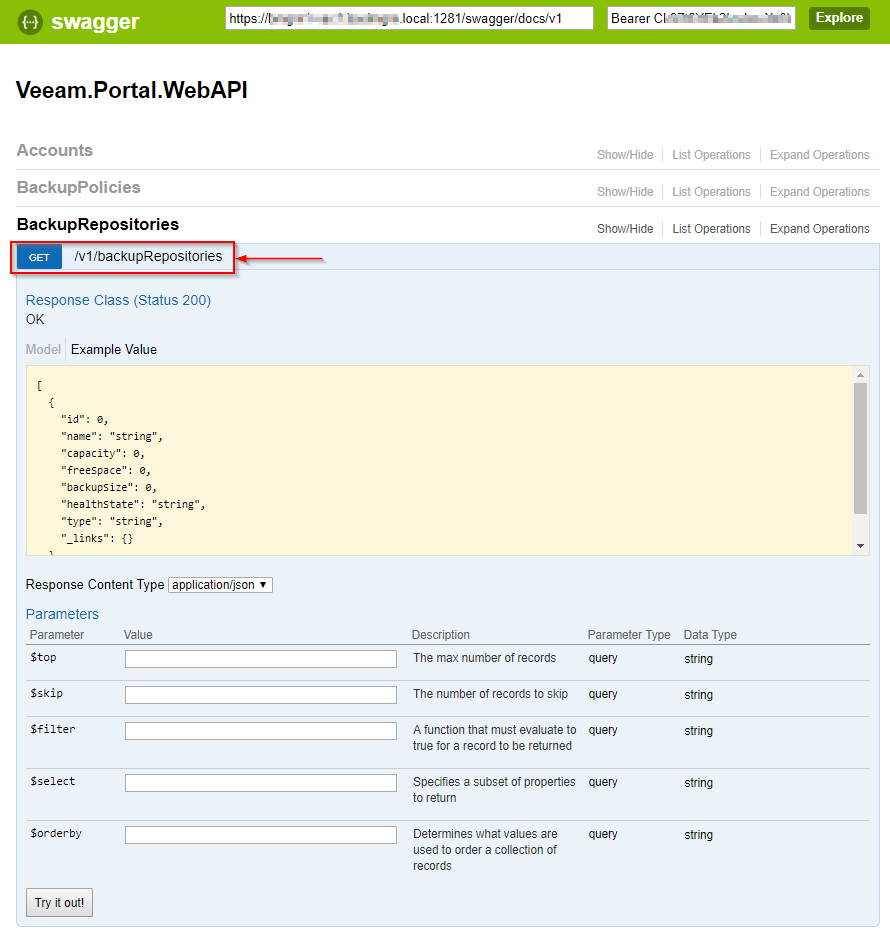
3. The forum allows us to specify optional parameters (e.g. top 5 items) for our query. Go ahead and click Try it out!
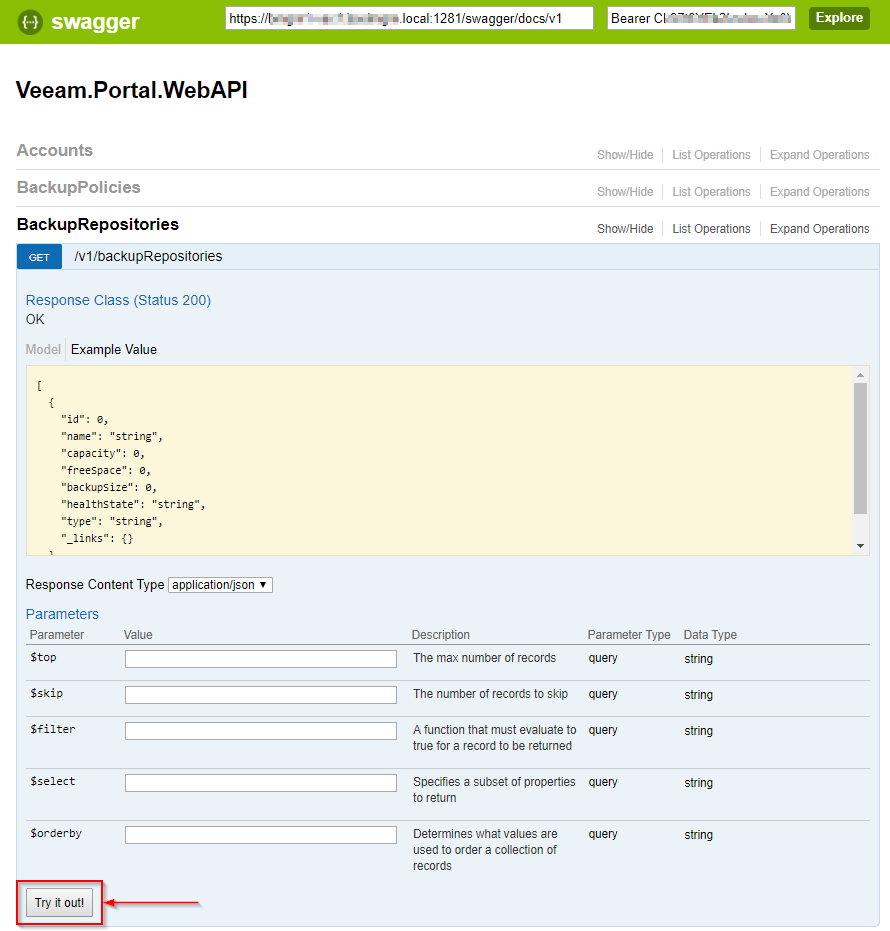
4. You should be able to see some of the live data returned from your query
Using Postman
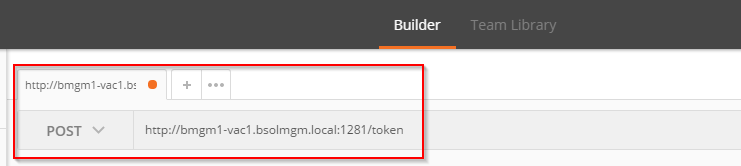
For those who prefer to use an API client, like Postman, the authentication method is similar to a point but different enough.
1. Open up the Postman client and create a new POST request
POST https://<VAC-SERVER-IP-or-FQDN>:1281/token
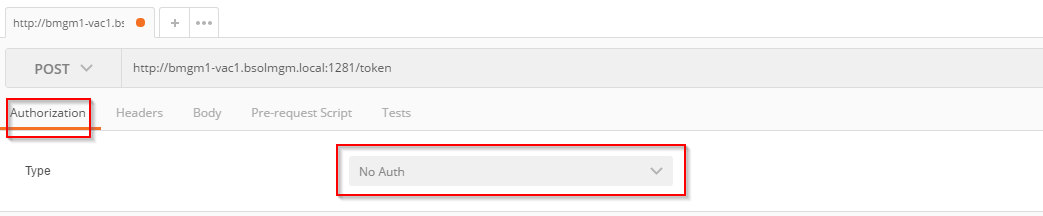
2. Leave Authorization as No Auth
3. Click on Headers and set the following
Key Value
Content-Type application/json
Authorization Bearer

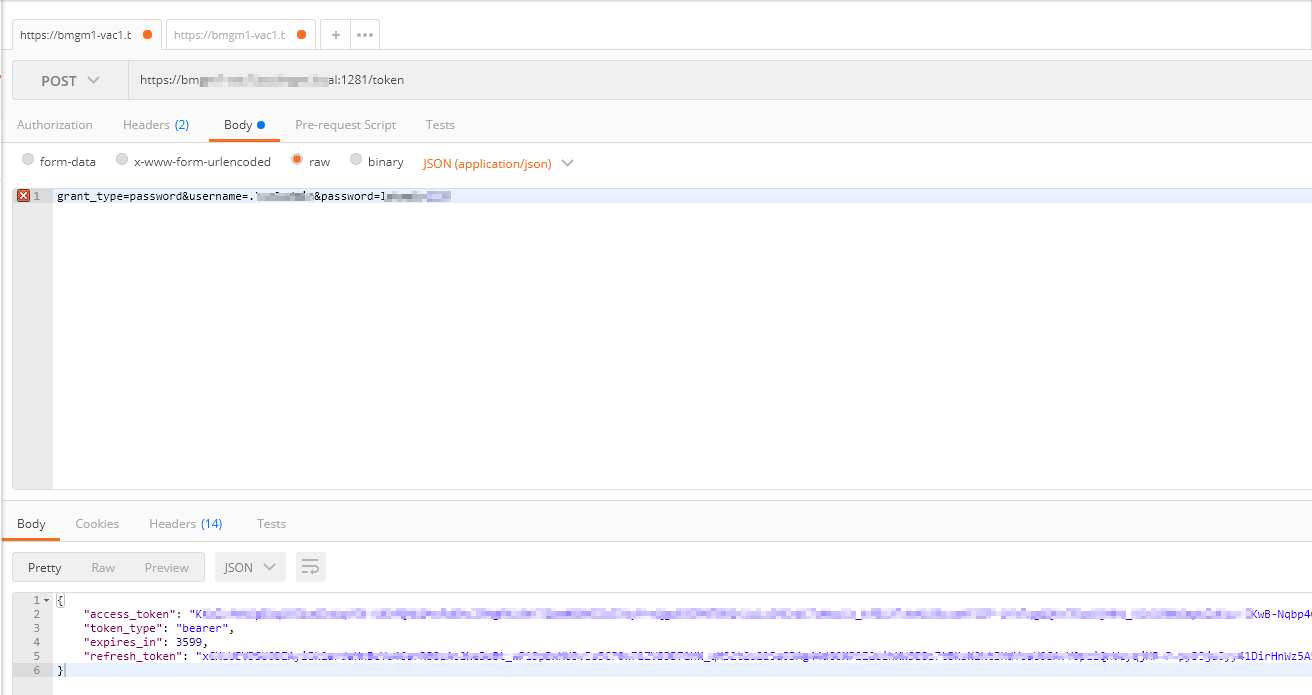
4. Click Body section and select raw. In the body section enter
grant_type=password&username=&password=<youradminaccount>&<yourpassword>

5. Click Send and if the credentials are valid you should see access_token, token_type, expires_in, refresh_token populated
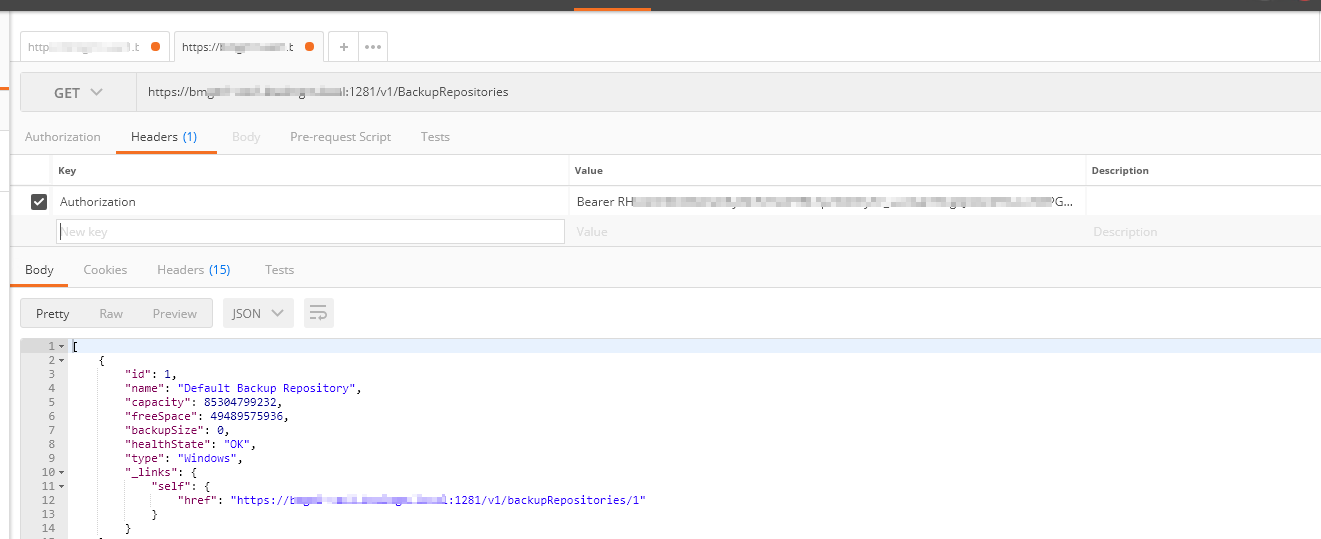
6. Copy the access_token string (in between the ” “) and open a new GET query. In this example we are calling BackupRepositories

7. Click Send and you’re data/results should be received
In the next post I’ll go through a practical application for API calls.
One comment
Comments are closed.