Back in 2017 I wrote a couple of blog posts about using SquaredUp in conjunction with Veeam Availability Console REST APIs. At that time SquaredUp had just released v3.1 which introduced the Web API tile (https://squaredup.com/blog/introducing-our-new-webapi-tile-ft-servicenow-integration/).
At that time I thought if Squared Up expanded on this and maybe removed the reliance on SCOM, they were potentially onto a winner. Fast forward nearly 5 years and Squared Up have done just that, by releasing a new free product called Dashboard Server (https://squaredup.com/dashboard-server/)
SquaredUp Dashboard Server
With the new product Squaredup allows you to leverage any data source via
- Web API
- Powershell
- SQL
- Elasticsearch
- Azure Log Analytics queries, to visualise your data
- and best of all …no requirement for SCOM.
The Enterprise Edition adds integration with Splunk, Service Now and Azure App Insights, however this is a costed solution.
The feature comparisons between free and Enterprise editions are as follows:-

Installation
You will need to register (required to obtain your activation key, including free version) and download the latest version here :- https://squaredup.com/dashboard-server-referral/
The installation requirements are as follows :-
- Ideally, provision a new server dedicated to hosting SquaredUp. Alternatively, install it on an existing Web Console Server.
- x64 Windows Server 2008 R2 SP1 (or above), 2012, 2016 or 2019.
- .NET Framework 4.7.2 * (To install this the server needs an internet connection, so if the server is offline, you should download and install .NET 4.7.2 from here.)
- Windows IIS Web- roles *
- IIS URL Rewrite Module 2.0 *
- Local administrator account
Items marked with * will be automatically installed if required.
- Register at https://squaredup.com/dashboard-server/#try-it-now
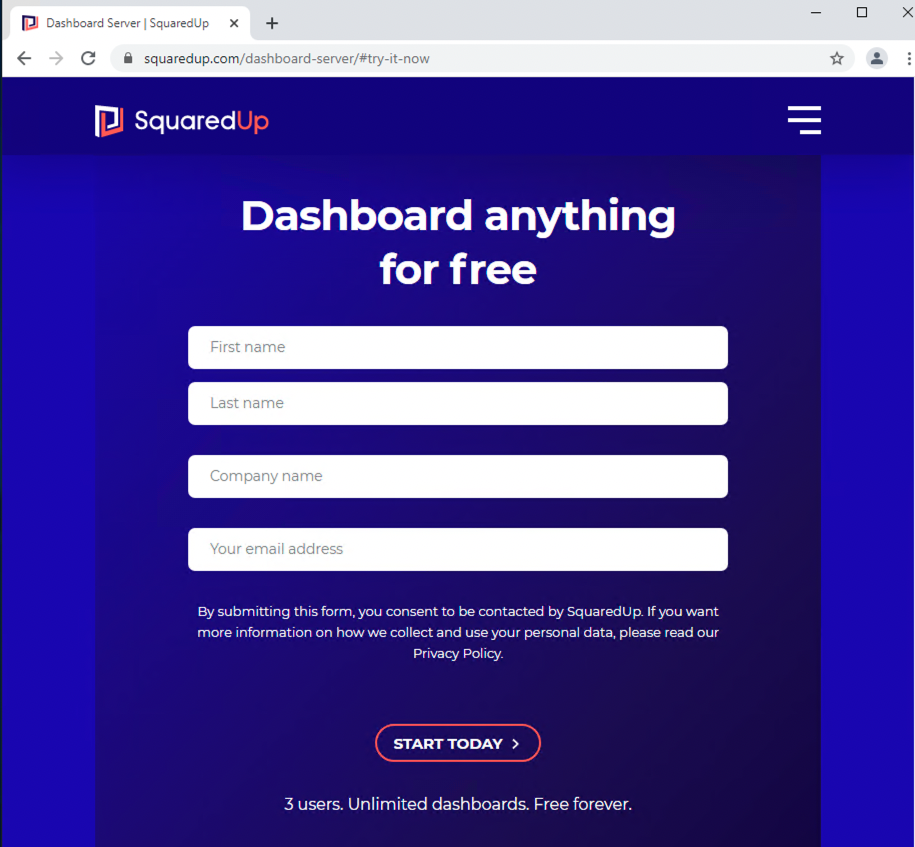
- Download the installer
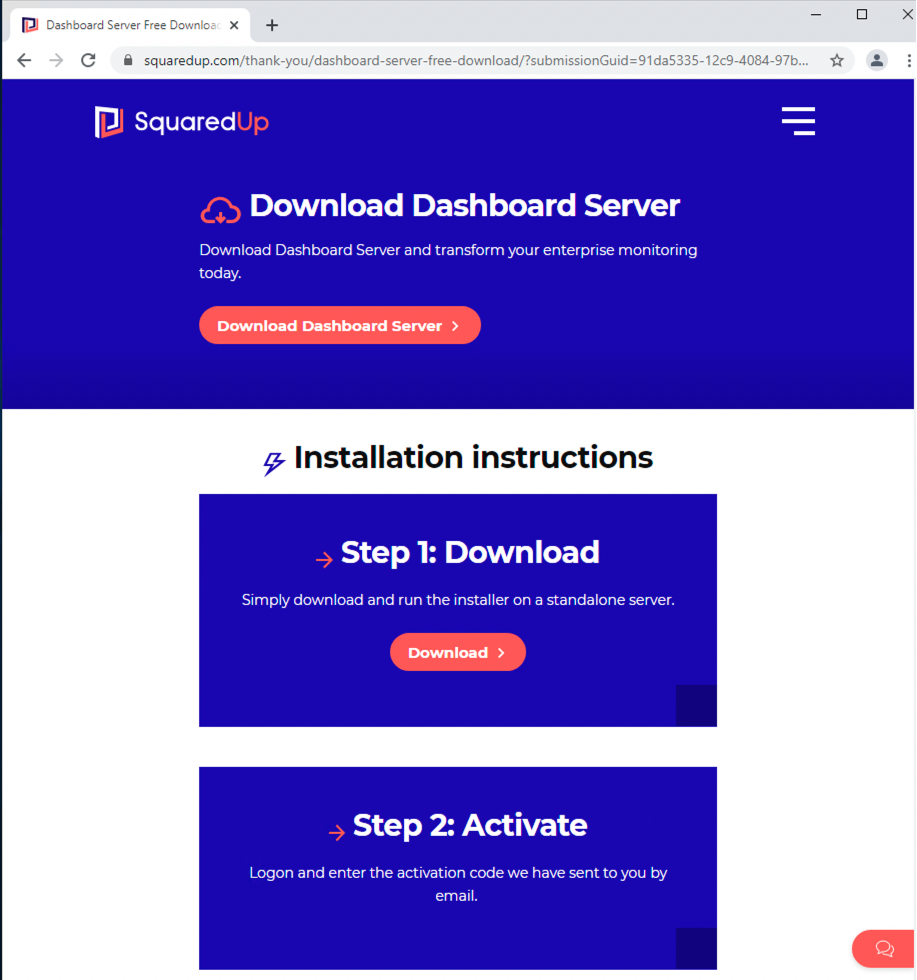
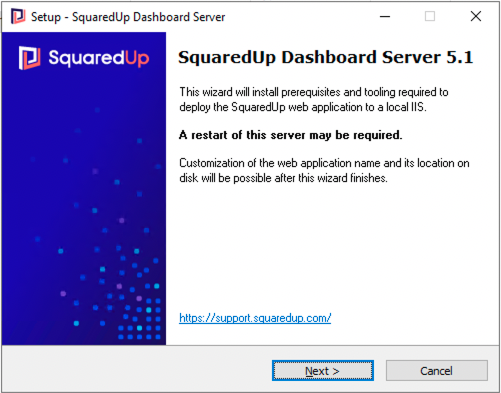
- Run the installer file
- Pay attention to warning about server may require a restart and click ‘Next’
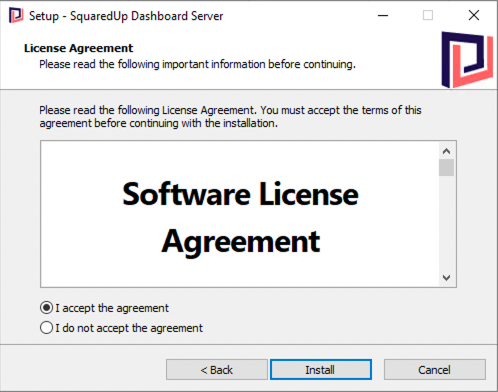
- Accept the software agreement, and click ‘install’
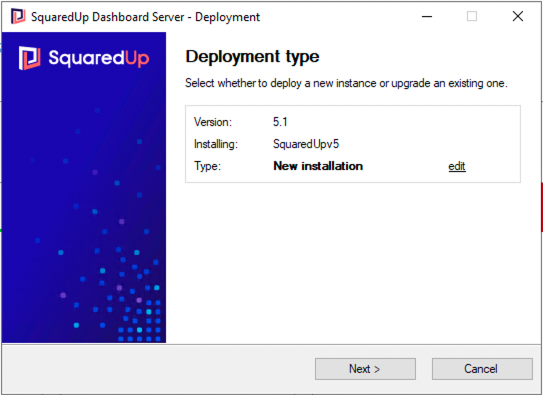
- On the Deployment Type screen the default ‘New Installtion’ option should be selected for you. Click ‘Next’
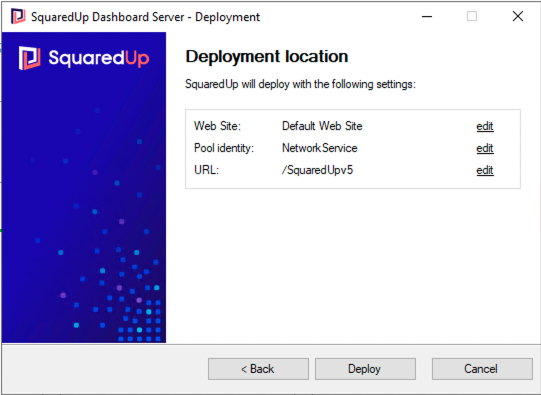
- The ‘Deployment location’ provides you with the opportunity to customise the IIS Web site/Pool Identity/URL , in this case the defaults are acceptable. Click ‘Deploy’
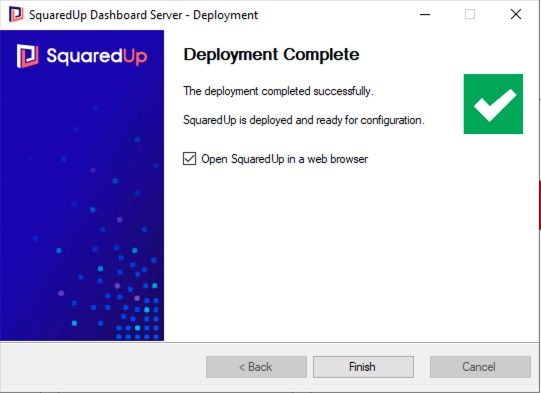
- Once the deployment has completed, click finish and a browser session will open the url http://localhost/SquaredUpv5
Activation
Once installed, and you can either click on the tick the ‘Open SquaredUp in a web browser’ (NB Internet Explorer is not supported) or directly from the url http://localhost/SquaredUpv5
As this is your 1st time launching the console, you will be required to activate your license key , which will be emailed to you after completing the registration process.
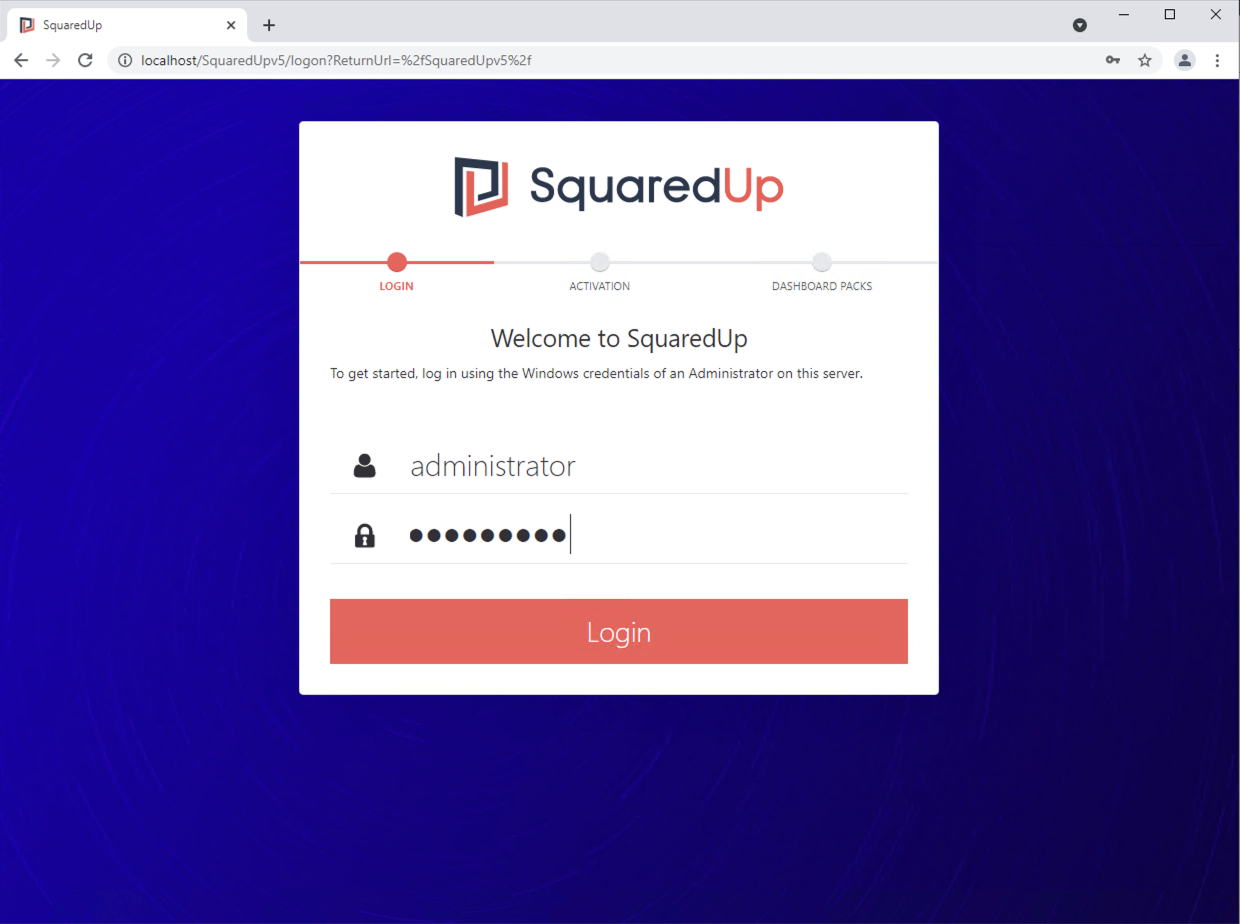
- Login to your session, with your local administrator account credentials
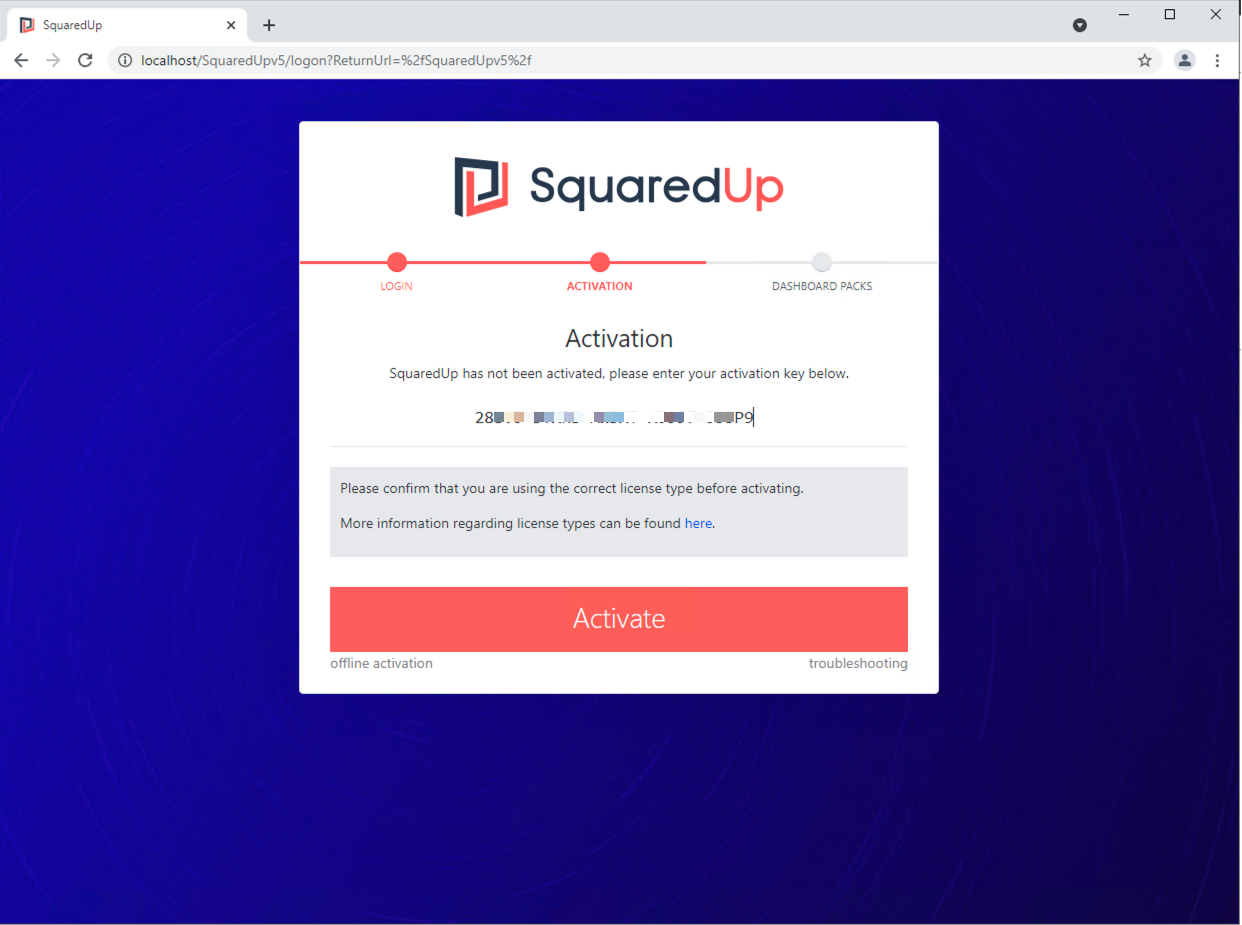
- Enter the activation key you received as part of the registration process, and click ‘Activate’
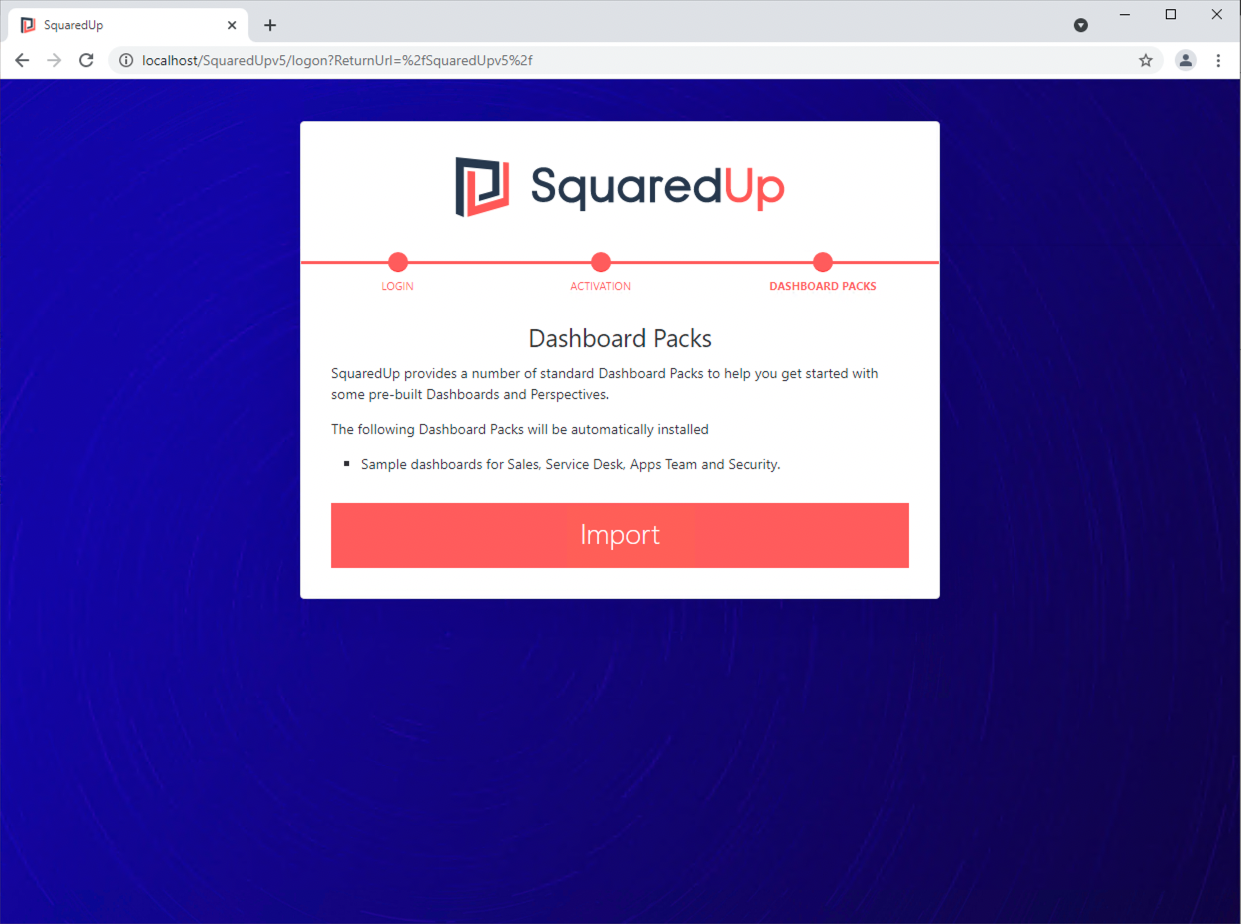
- Next import the sample dashboard packs
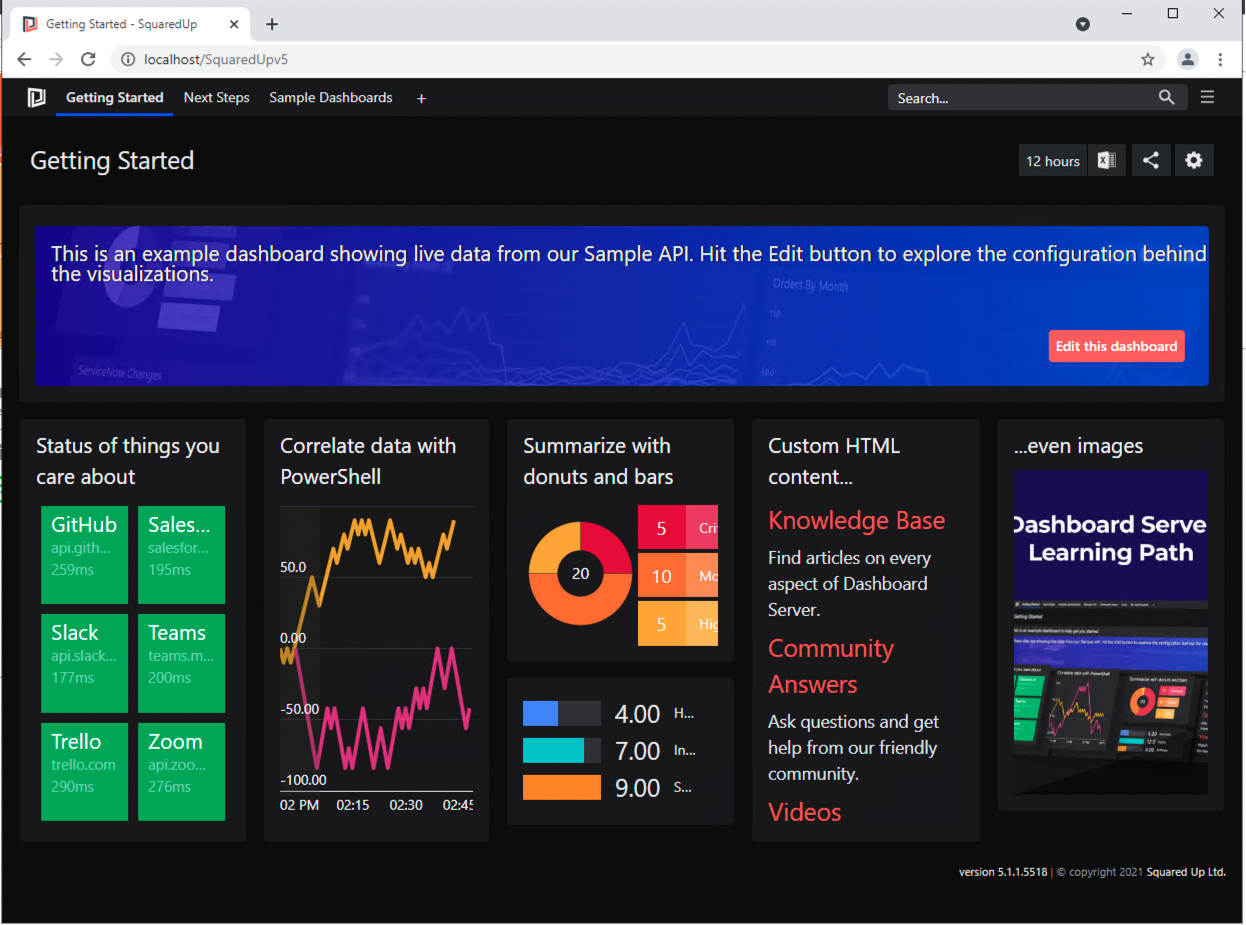
- Once completed you will be presented with a ‘Getting Started’ dashboard, with some sample tiles
Now Dashboard Server has been installed and activated, time to start presenting some data and creating dashboards.
Veeam Backup and Replication v11 – REST API
In the following example, I’m going to use Veeam Backup and Replication (VBR) V11 as my data source. With the release of VBR V11 , Veeam introduced REST API functionality (https://helpcenter.veeam.com/docs/backup/vbr_rest/rest_api_reference.html?ver=110) .
Now REST APIs for VBR is not necessarily a new feature, as Enterprise Manager exposed REST APIs to allow queries to the VBR server in the past. This is however the 1st time Veeam allowed the REST queries to VBR directly without the need to install Enterprise Manager.
To allow SquaredUp to make the necessary REST calls to your VBR server, you will need to setup an Integration within Squaredup.
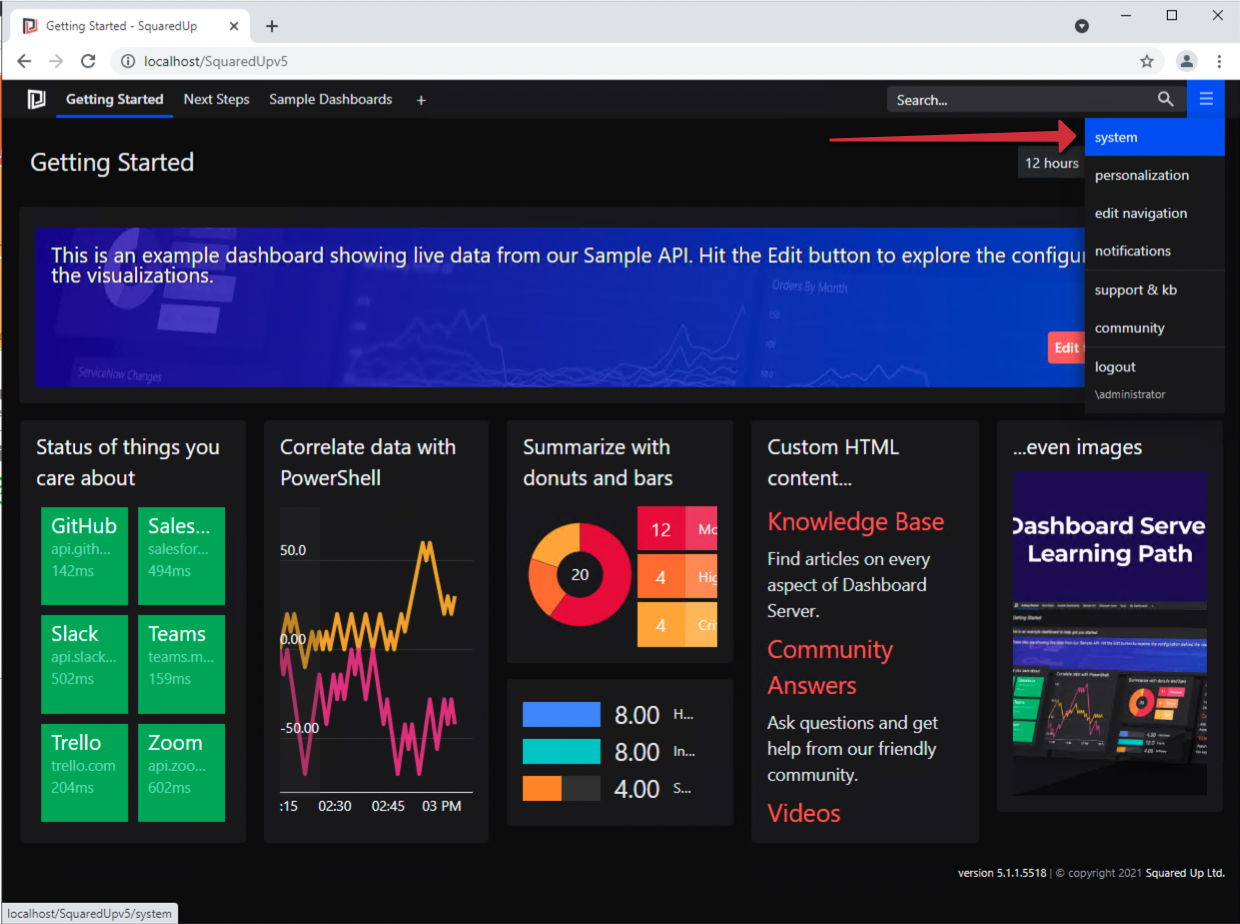
- From the Squaredup dashboard hover over the 3 parallel lines in the upper right hand corner, to reveal the options menu
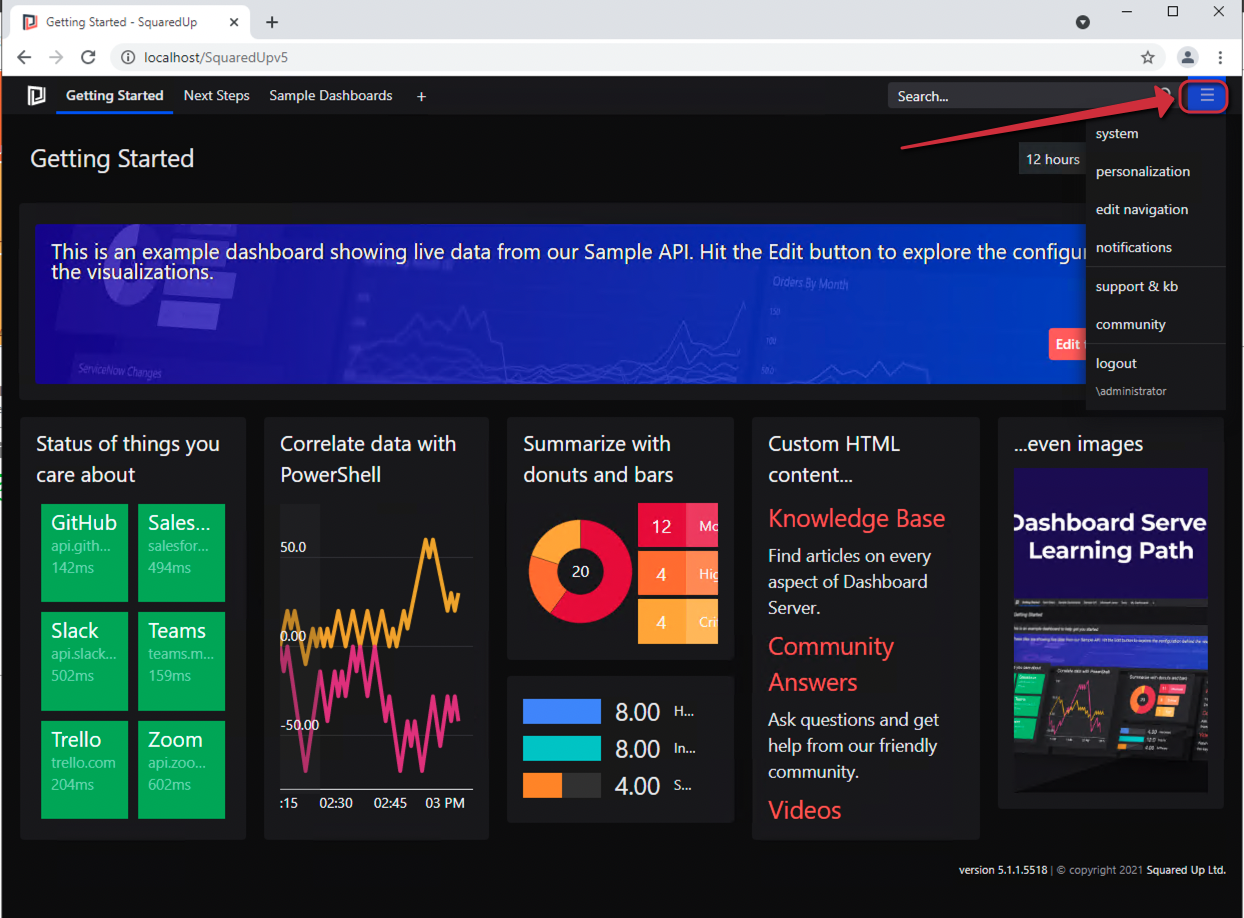
- From the drop menu select ‘System’
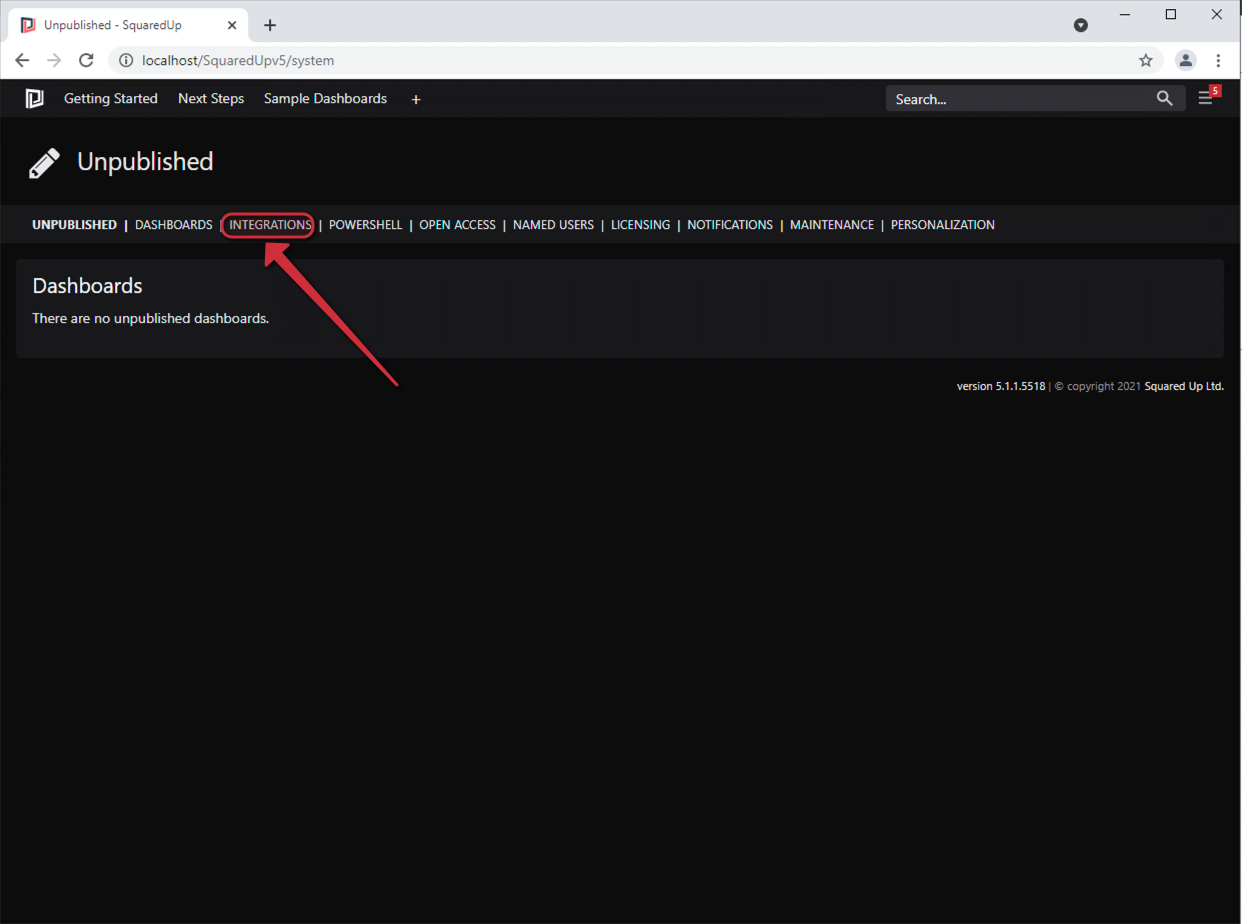
- On the next screen select the ‘Integrations’ tab
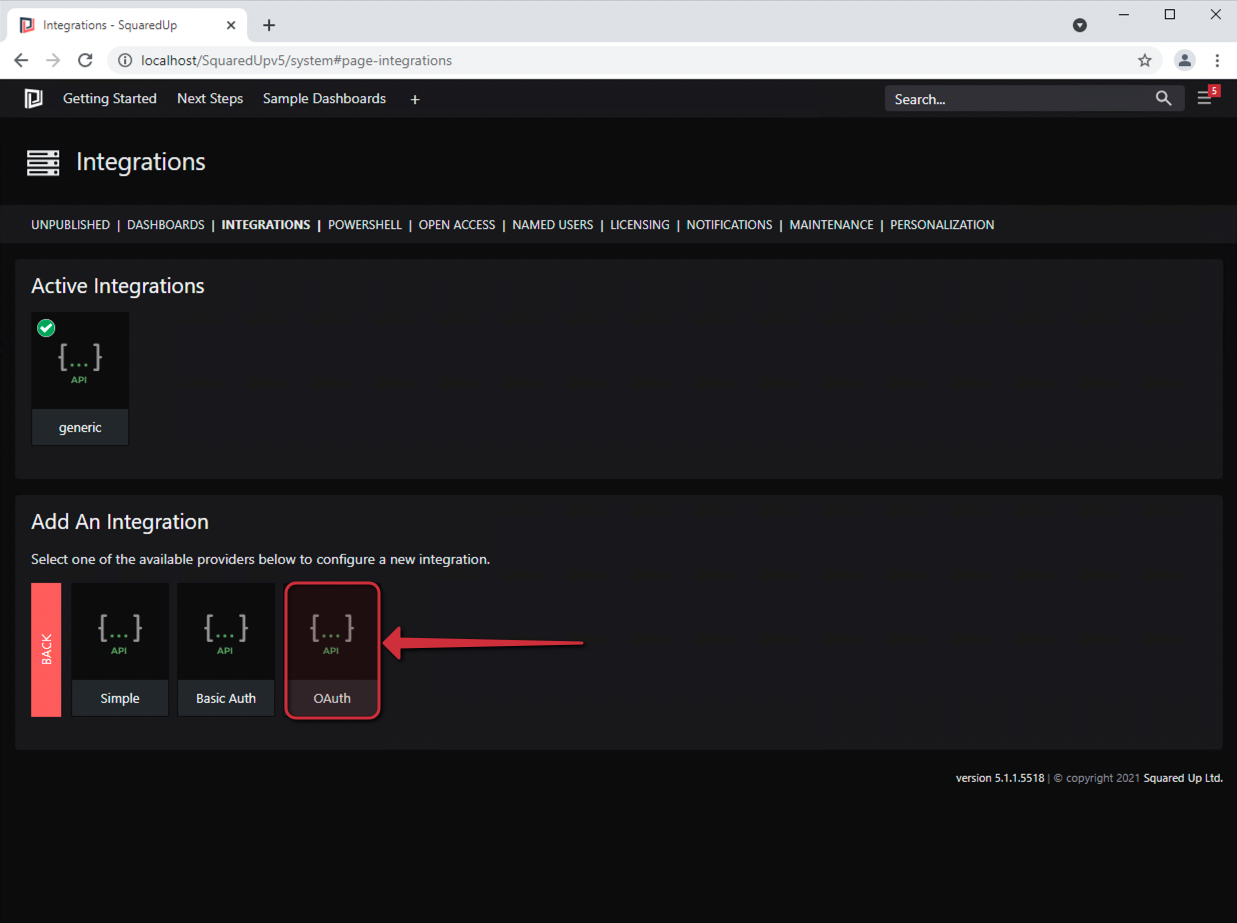
- Now we need to select the ‘Web API’ integration from the selection available
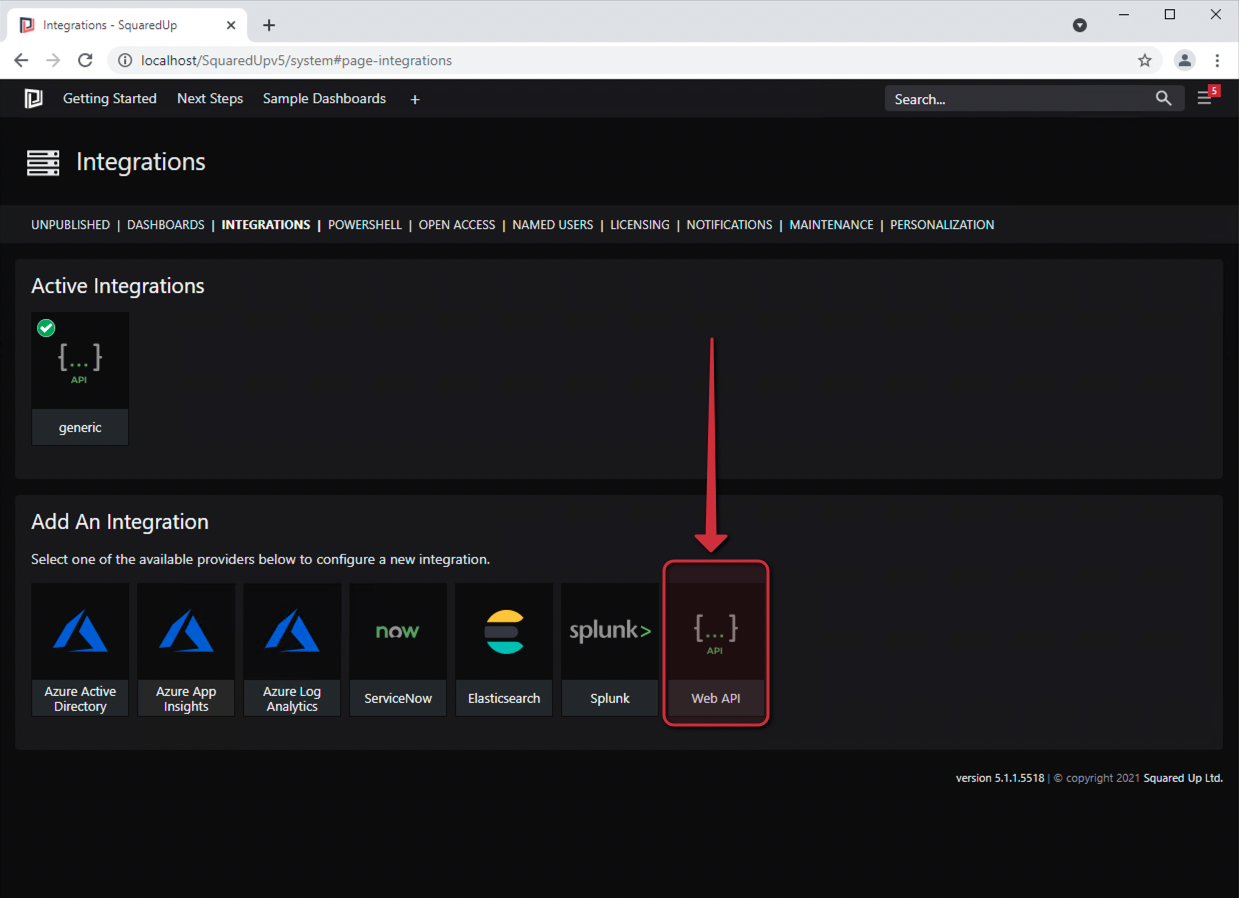
- As Veeam VBR v11 REST API uses Oauth for authentication, that is the option we will select
- Now on the ‘Add Integration’ screen we need to provide some details
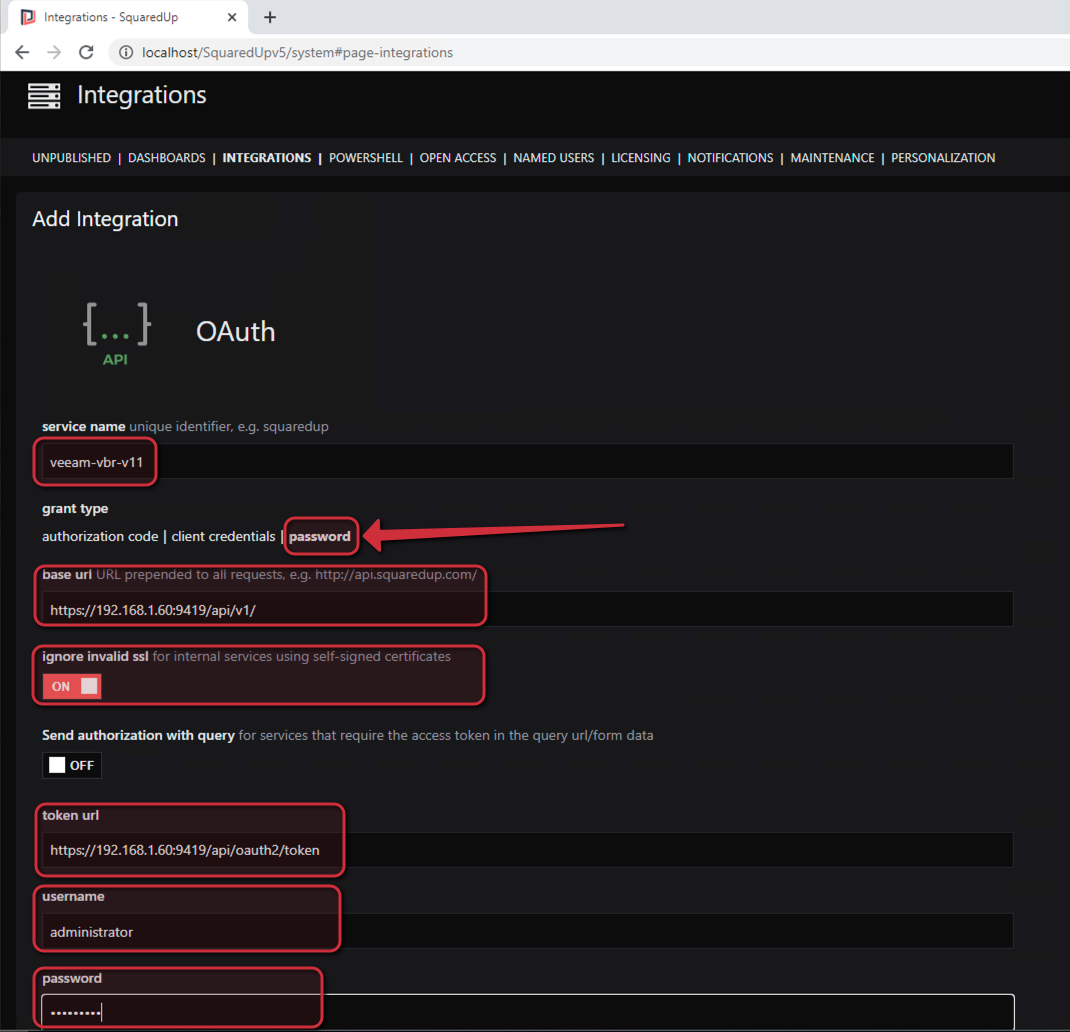
Service name : this is just an identifier for use within SquaredUp, in my example I’m calling the service veeam-vb-v11
Grant type : set this to password
Base url : this is in the format of https://<ip_or_fqdn_veeam_vbr_server>:9419/api/v1 , in my lab 192.168.1.60 is my Veeam VBR v11 server
Ignore invalid ssl : as I am running this in my lab with self signed ssl certs, this is set to on
Token url : this is in the format of https://<ip_or_fqdn_veeam_vbr_server>:9419/api/oauth2/token , in my lab 192.168.1.60 is my Veeam VBR v11 server
Username : this should be an account that has access to the Veeam VBR v11 server, in this example I’m using the local server administrator account
Password : password associated with the previous username
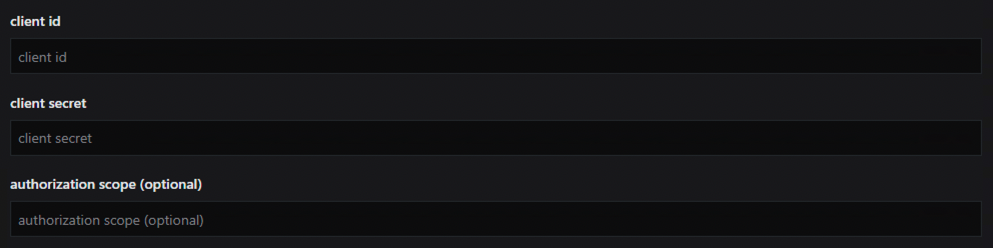
Client ID , Client Secret and authorization scope can all be left empty
Click on ‘add’ in the default headers section
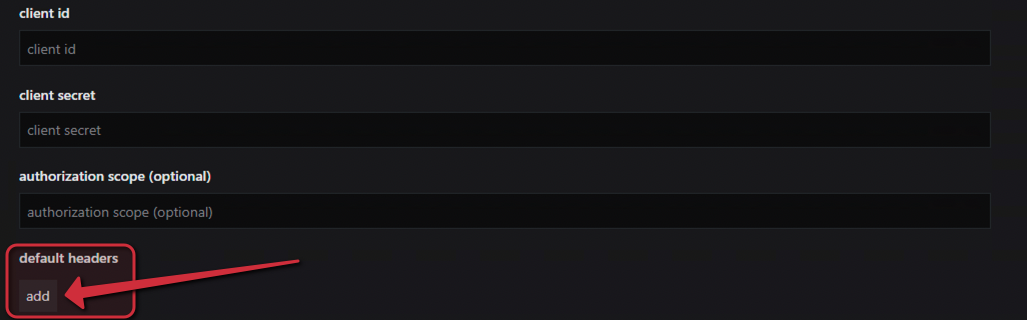
Add the following header information
| x-api-version | 1.0-rev1 |

Click save
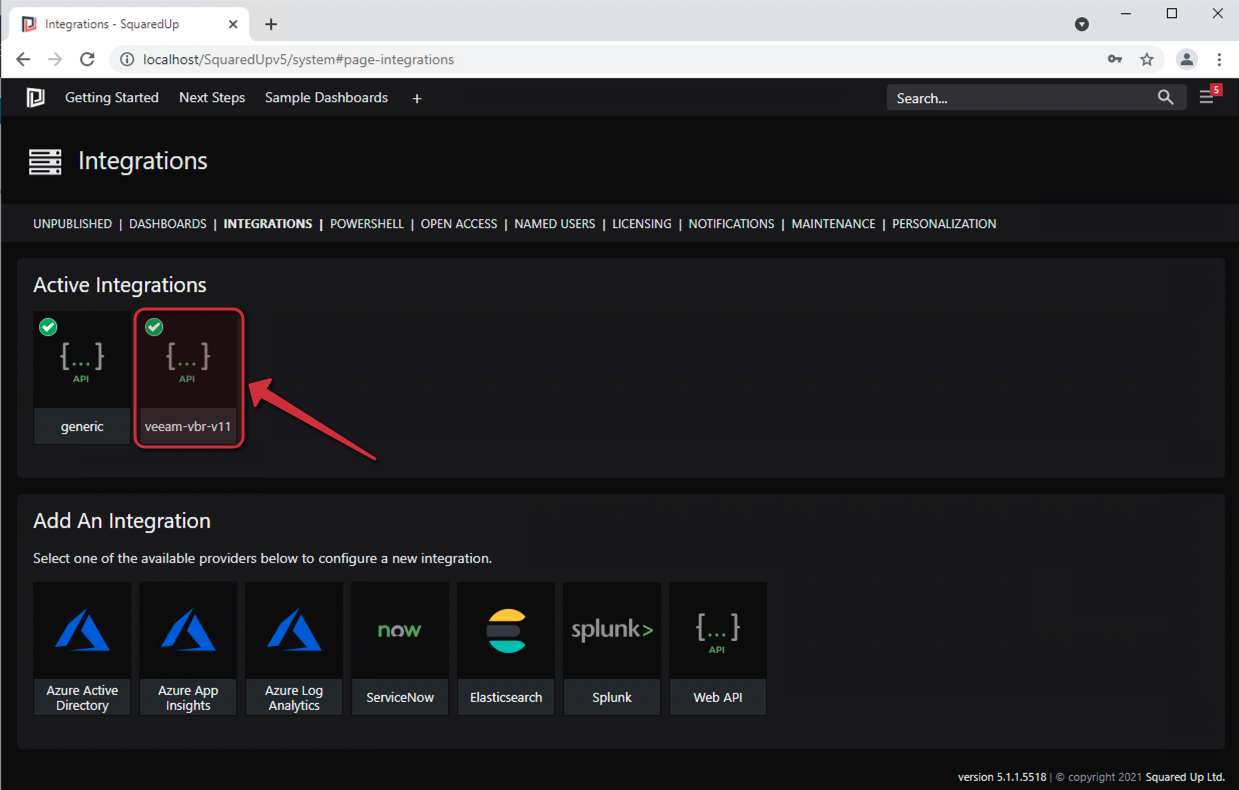
SquaredUp will now attempt to connect to the integration using the details provided. If successful the integration will appear under ‘active integrations’ along with a green tick.
If the integration appears with a red tick
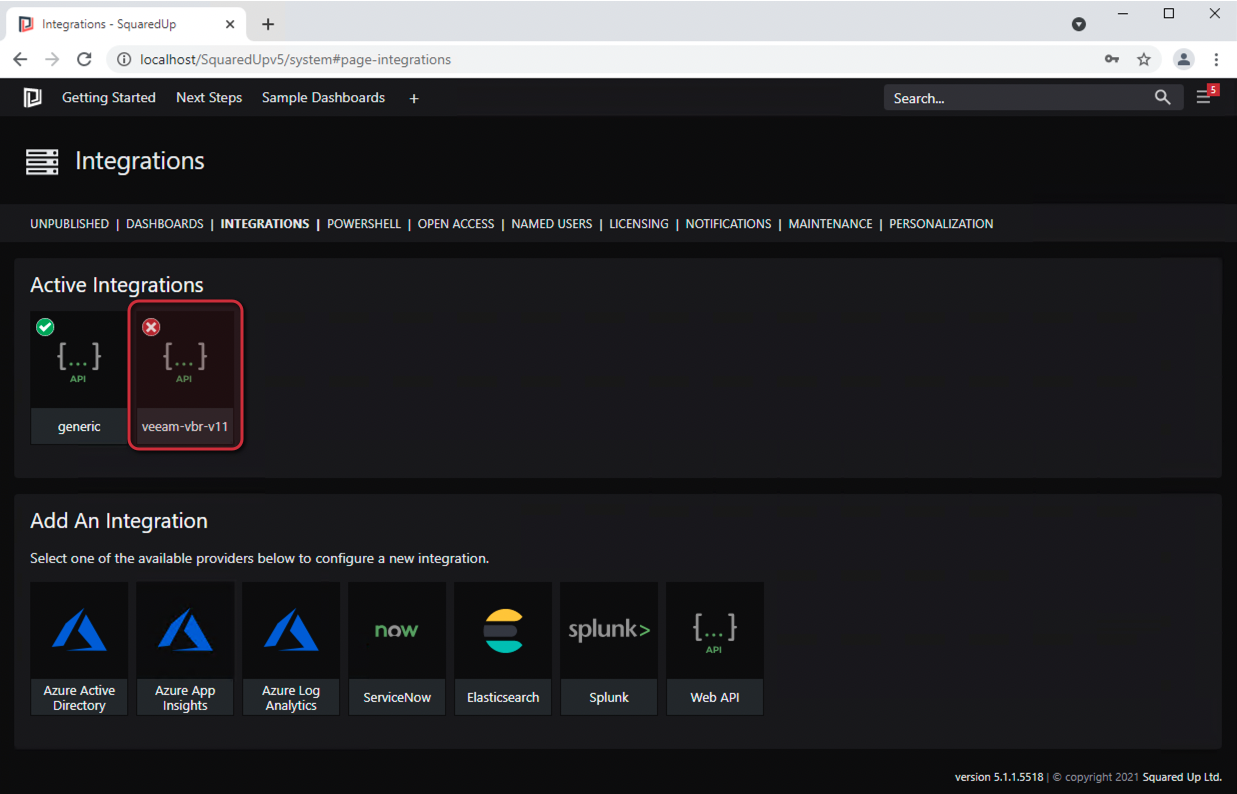
This means authentication has failed. Click on the integration tile and check over the information you have provided are correct (usually a mistyped password or url)
Now we have our integration working we can start to build our dashboard
Veeam Dashboard
Now let’s add some Veeam VBR job metrics to a single tile
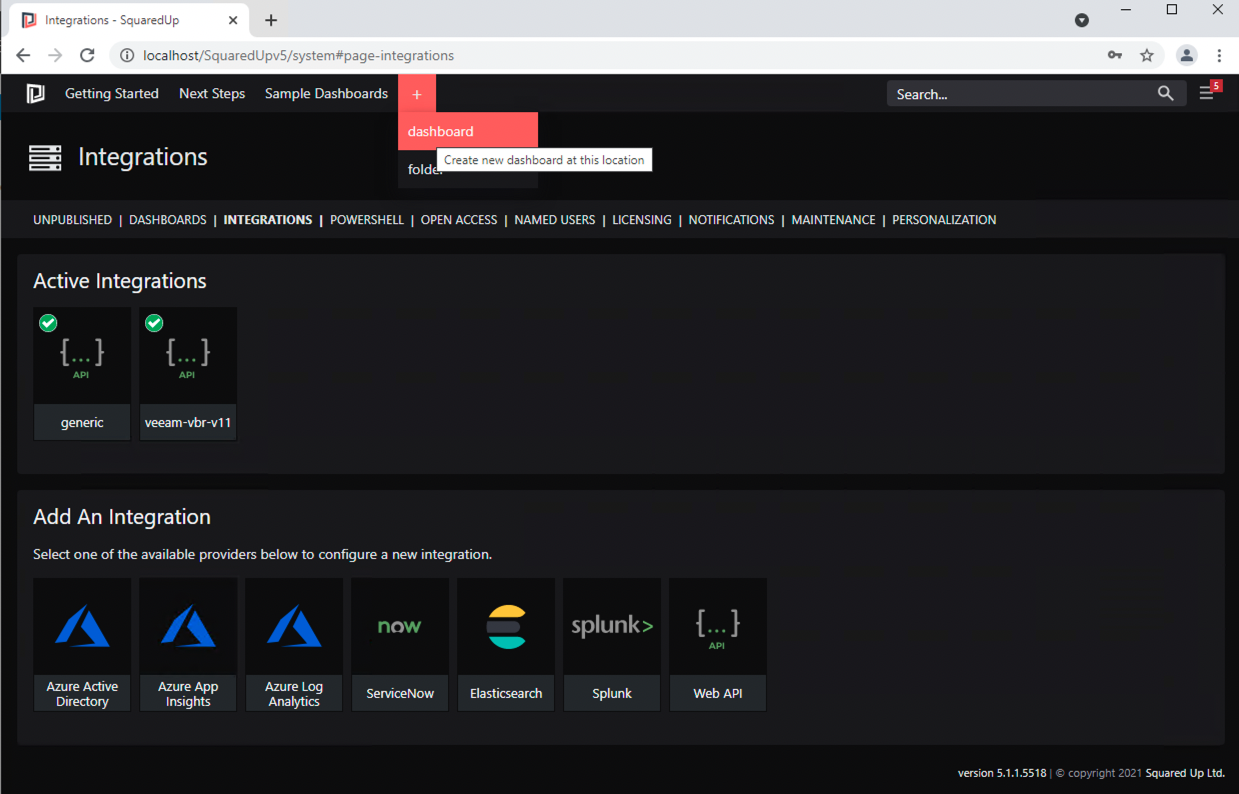
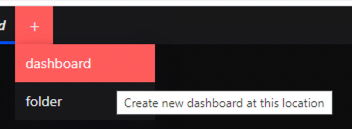
- From the navigation bar, click on the ‘+’ and select ‘dashboard’
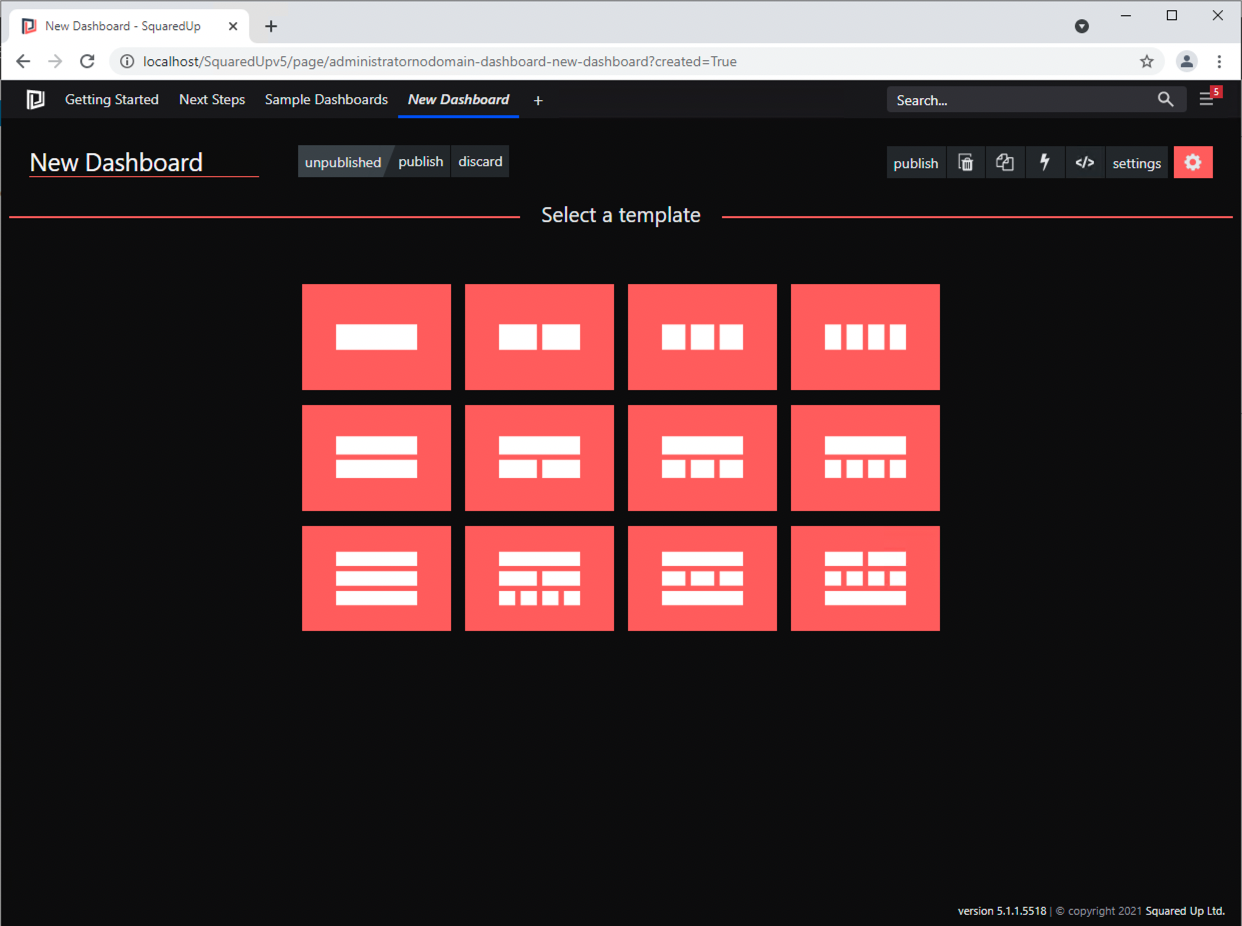
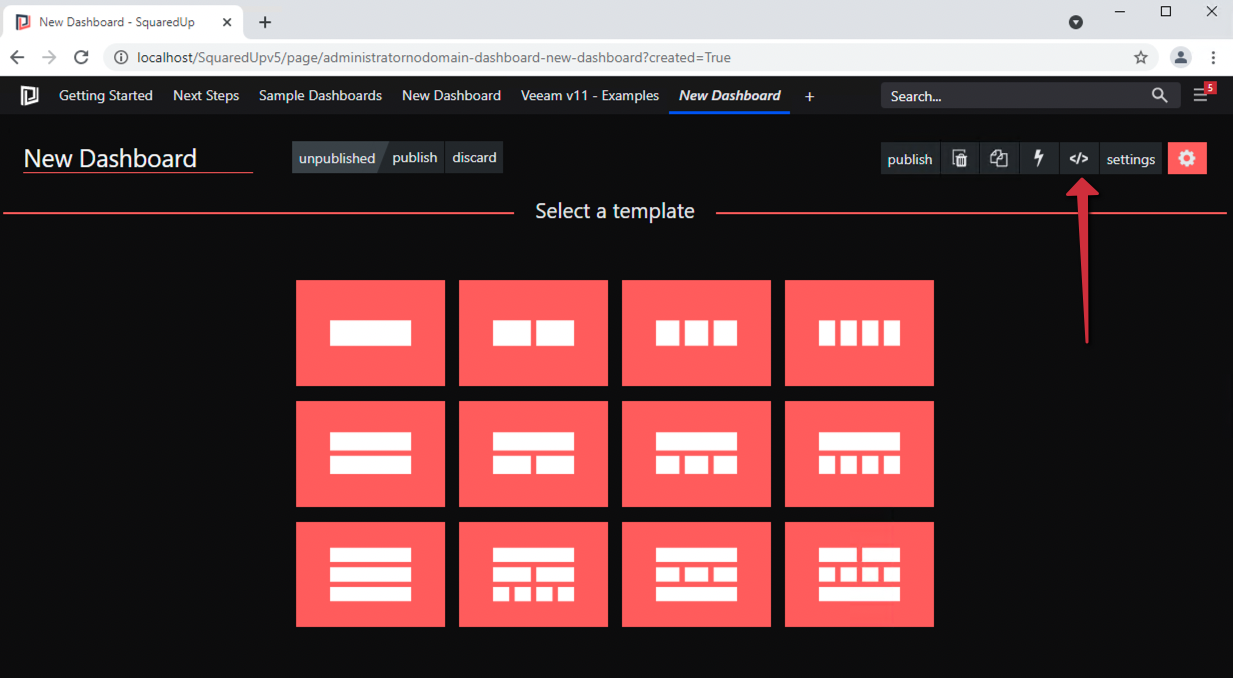
- From the layout screen, pick your preferred template This can be modified later on. In the following example I have chosen the single tile.
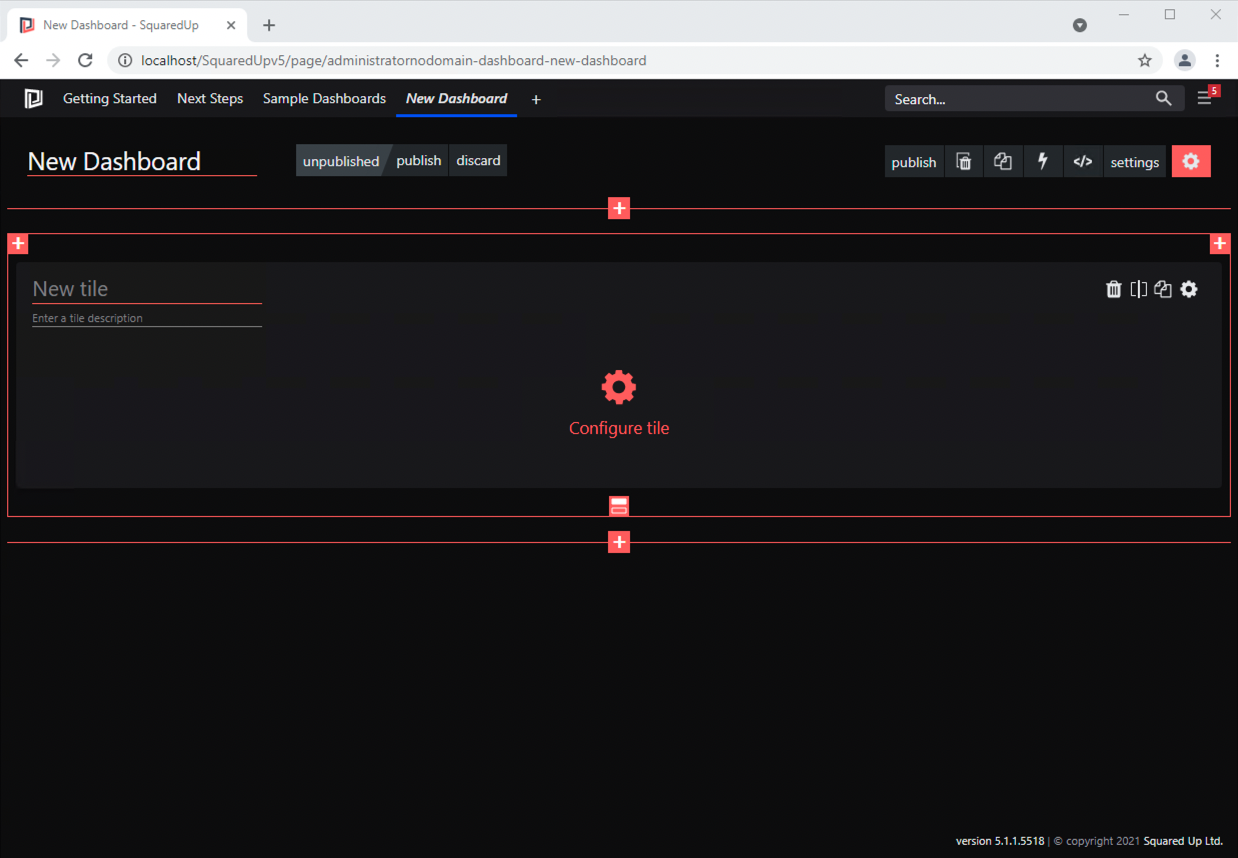
- Now we have a tile ready to configure, click on ‘Configure Tile’
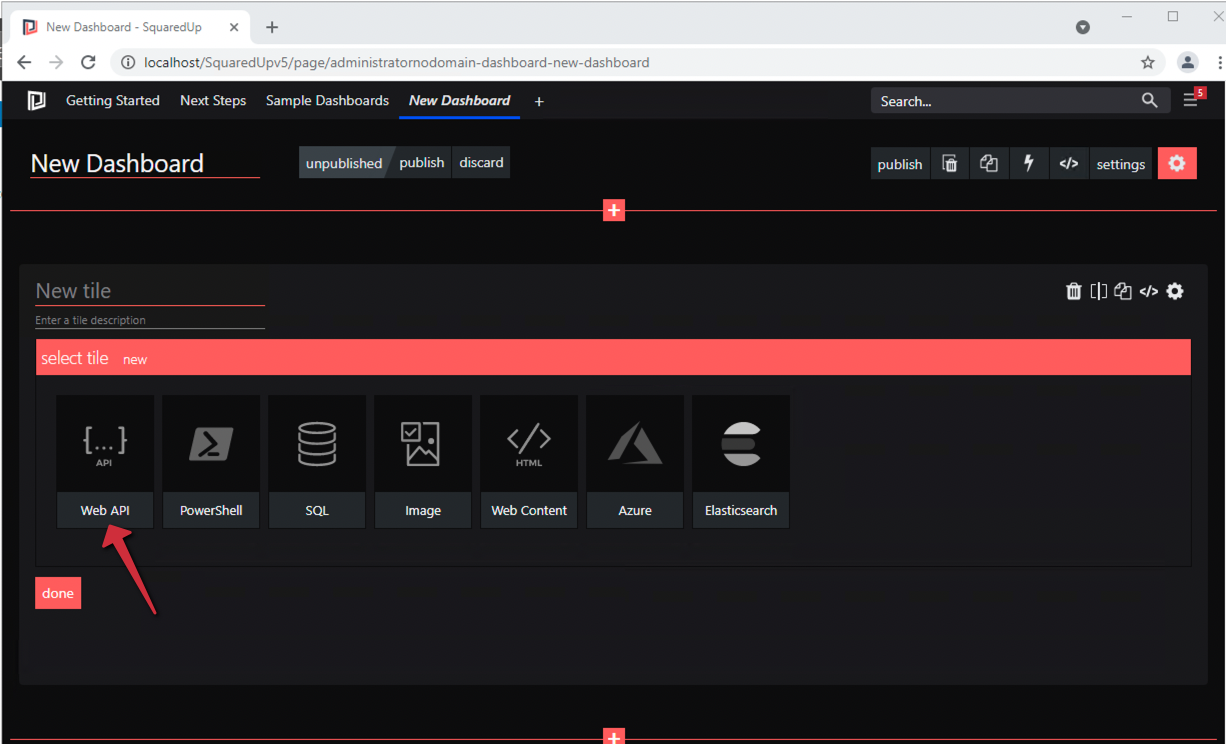
- From the selection click on ‘Web API’ tile
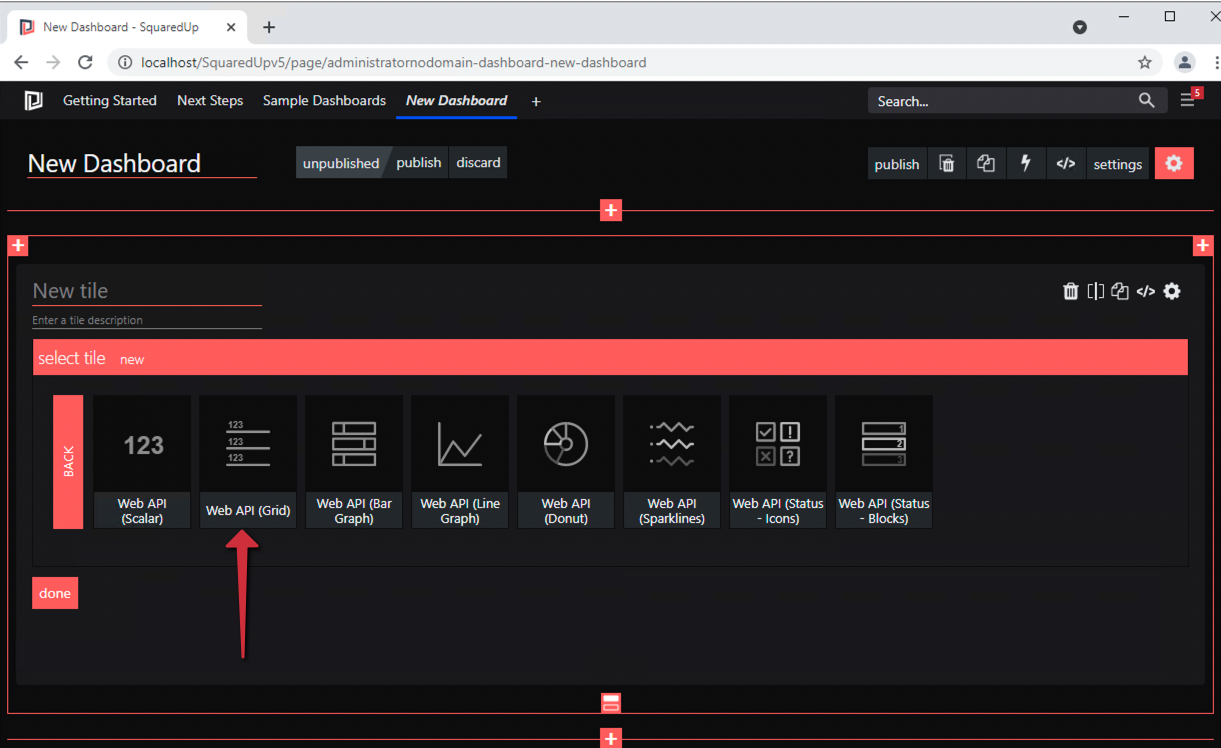
- For this example we’re going to list all the jobs states from out Veeam VBR server, click on ‘Web API (Grid)’
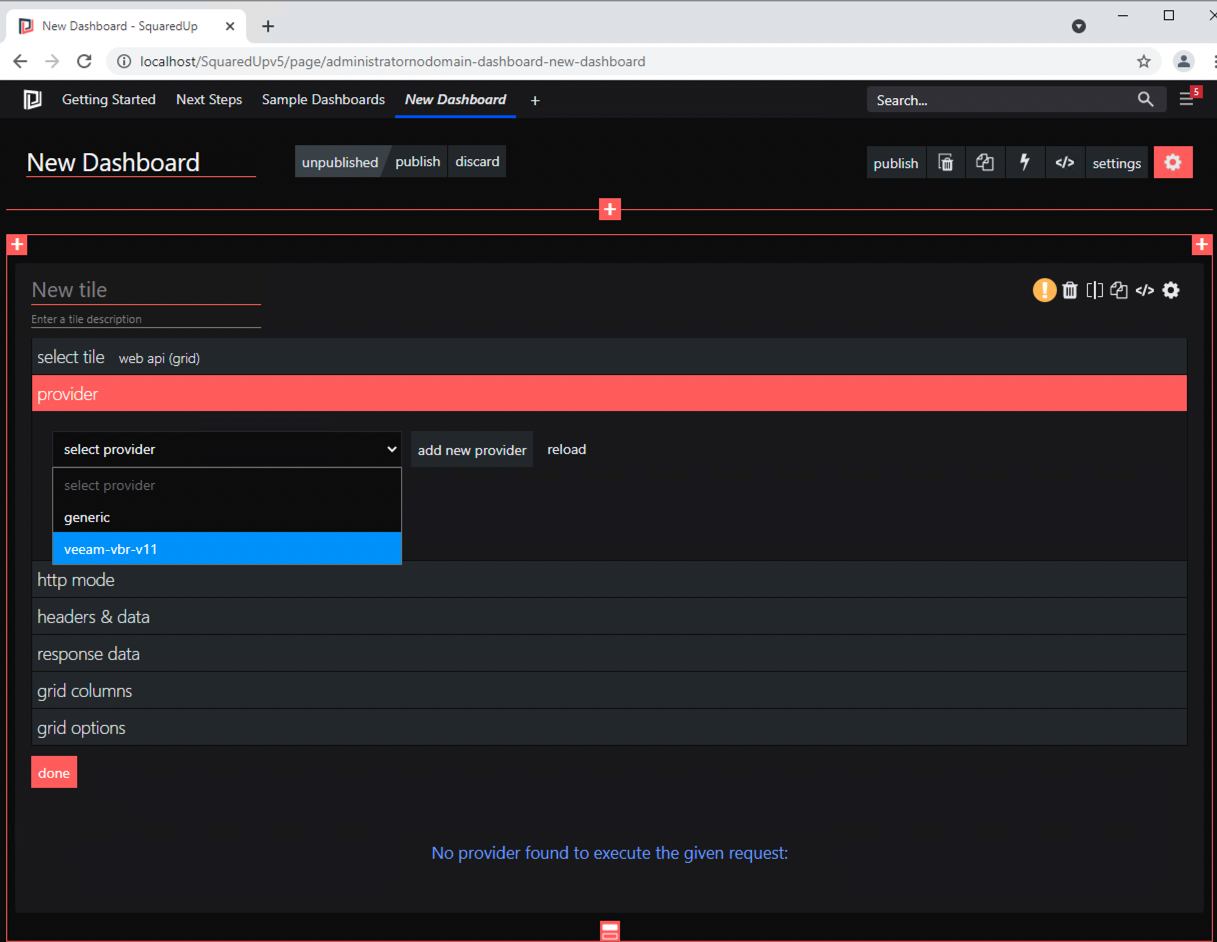
- We now need to select our veeam-vbr-v11 provider from the drop down list, and click next
- For the http mode this where you would specify your REST API call. Leave the http method as get. You’ll see the base URL is already pre-populated. Append that url with jobs/states and click next
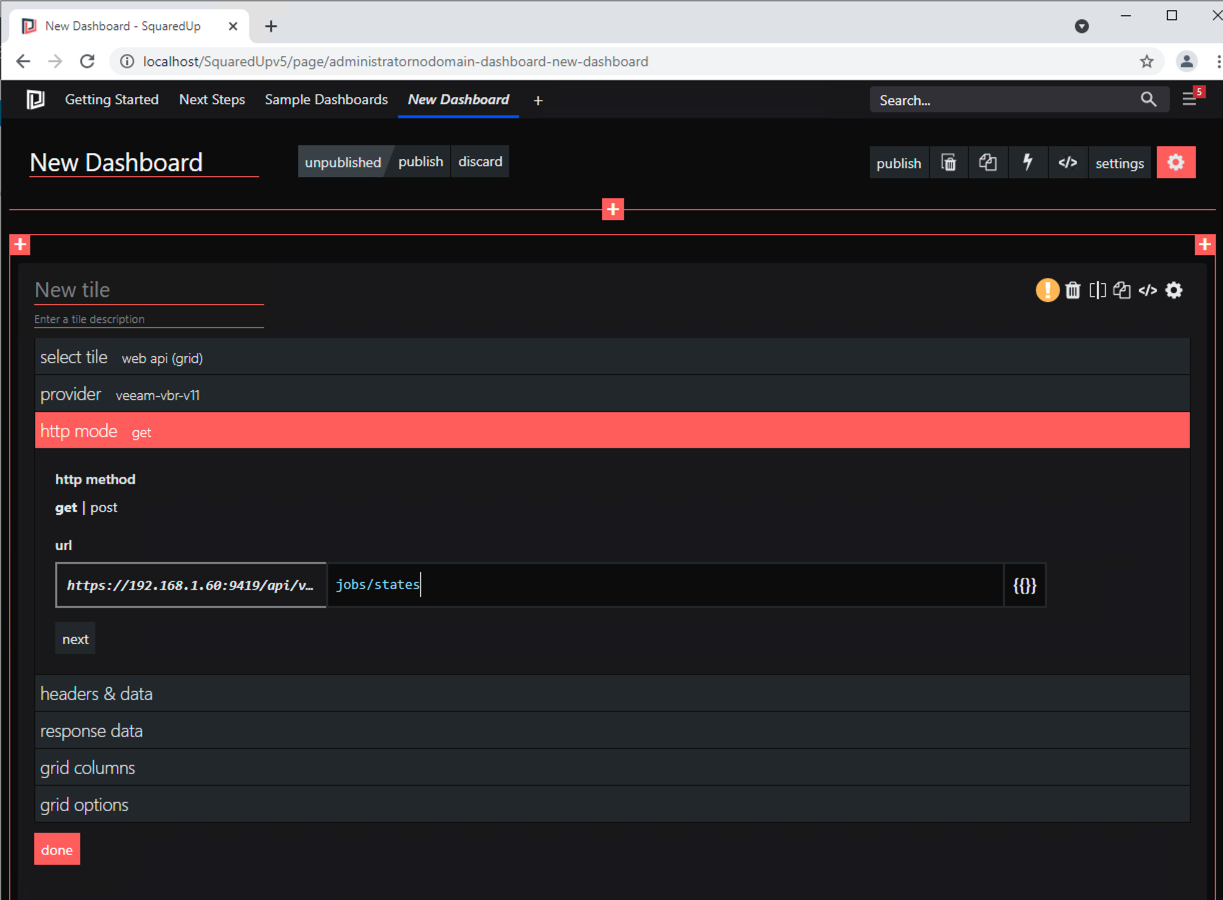
- As we have already specified the default header in our integration setup, we can leave the headers and data section blank, and click next

- If your REST API call was authorised and correctly formed, you should see response data populate
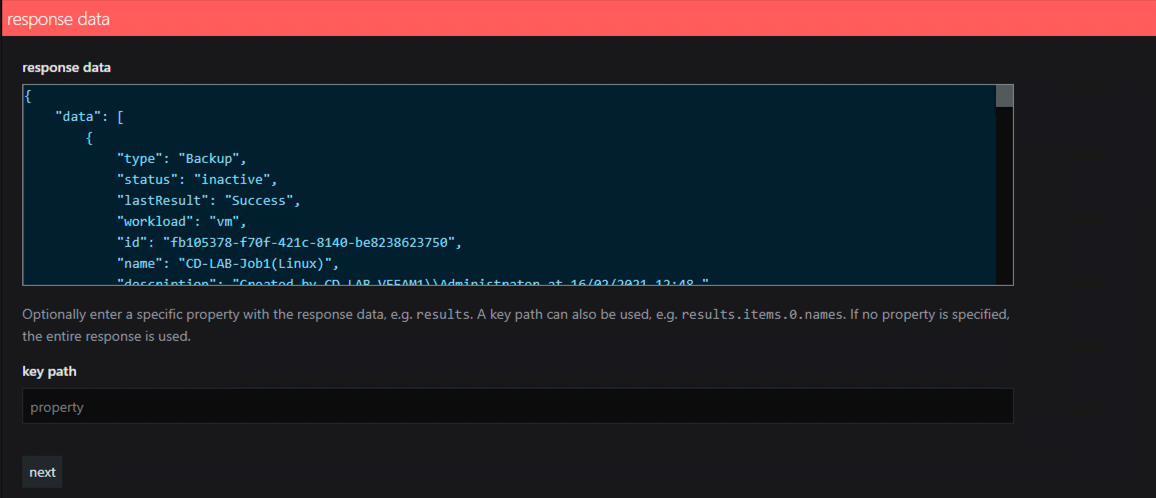
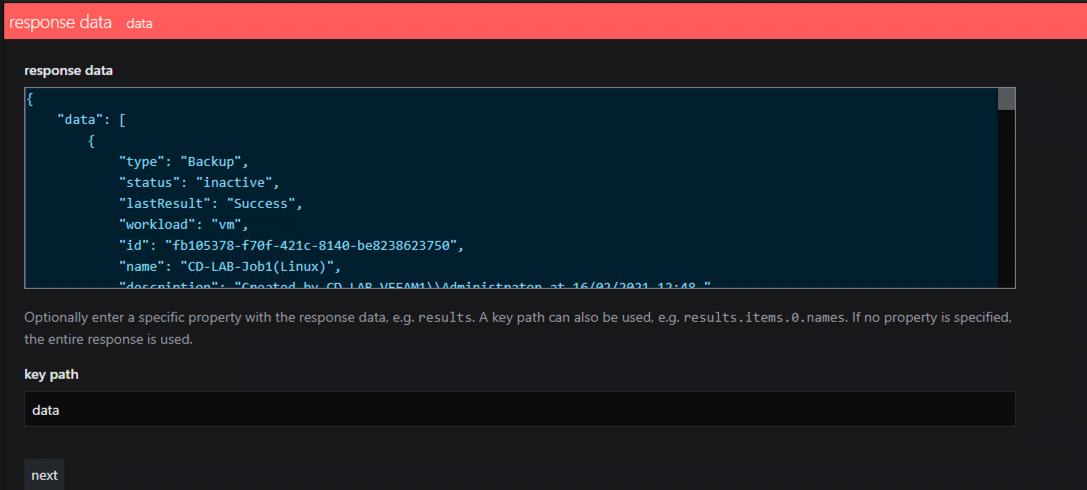
- We now need to inform SquaredUp which response data we want to use, in the key path section enter the word data , and click next
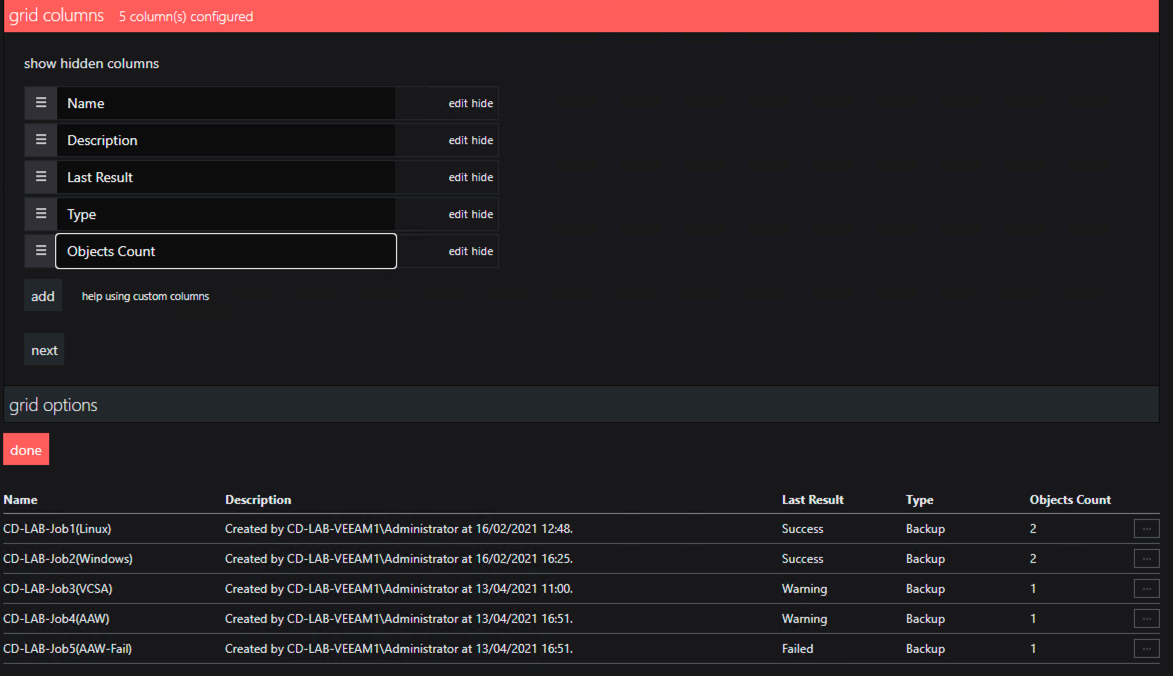
- Now in grid columns we can see the columns and data being returned by the REST API query from the Veeam VBR server
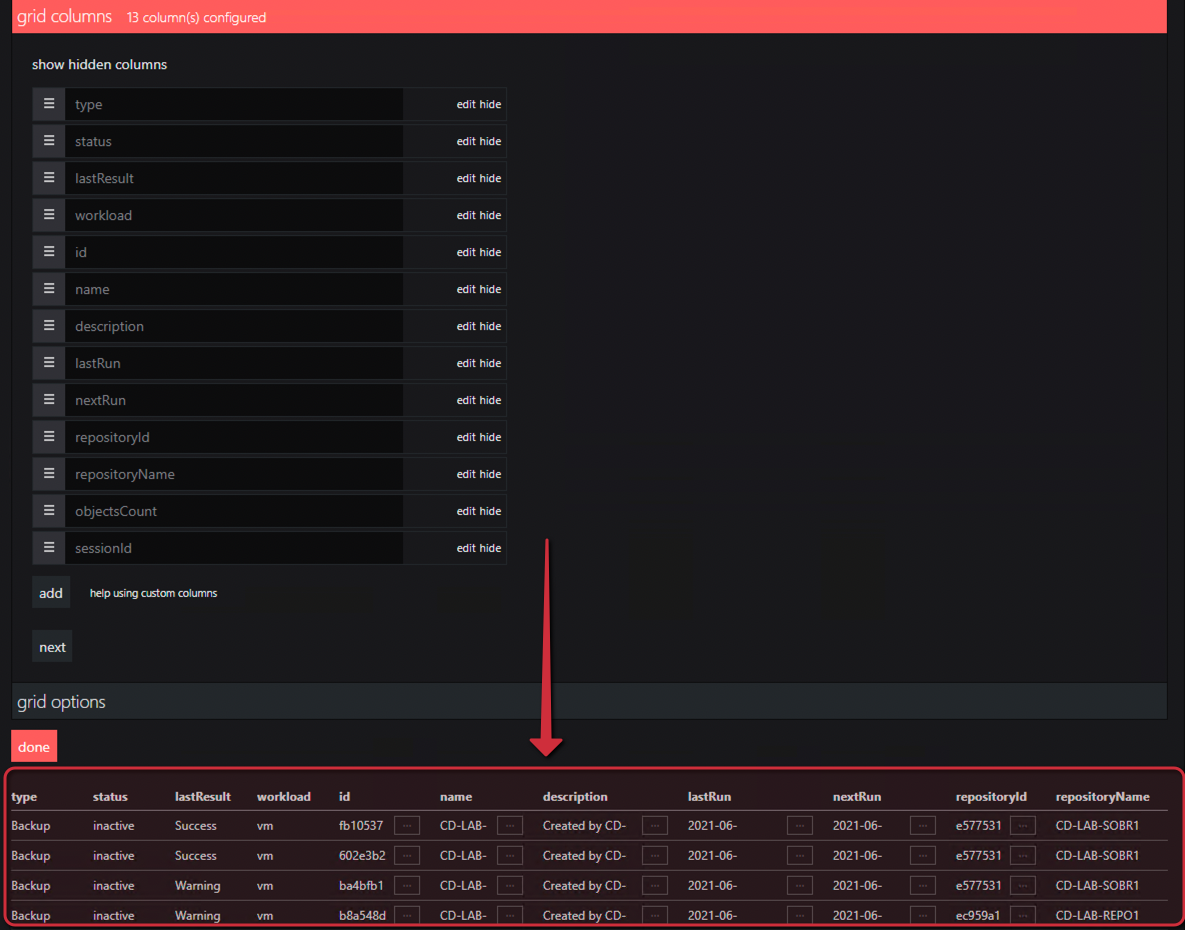
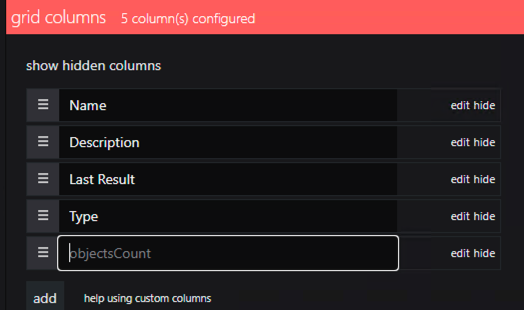
- Now we don’t necessarily need all these columns and we don’t necessarily need to use the column names provided. We can use the edit/hide function to select only those columns we’re interested in and change their titles.Name
Description
Last Result
Type
Object Count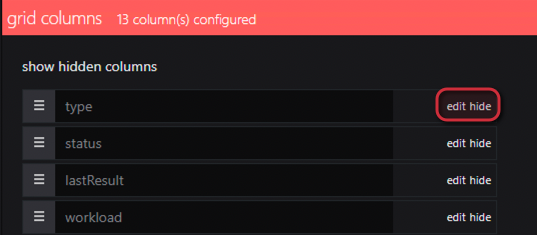
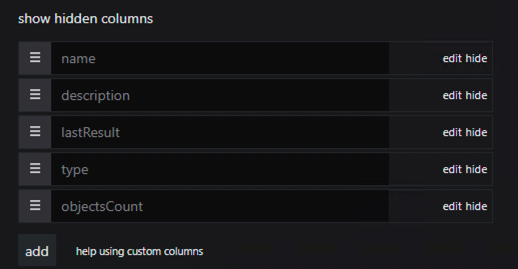
- In this example we’ll use we’ll hide the rest, the grid layout should look like this
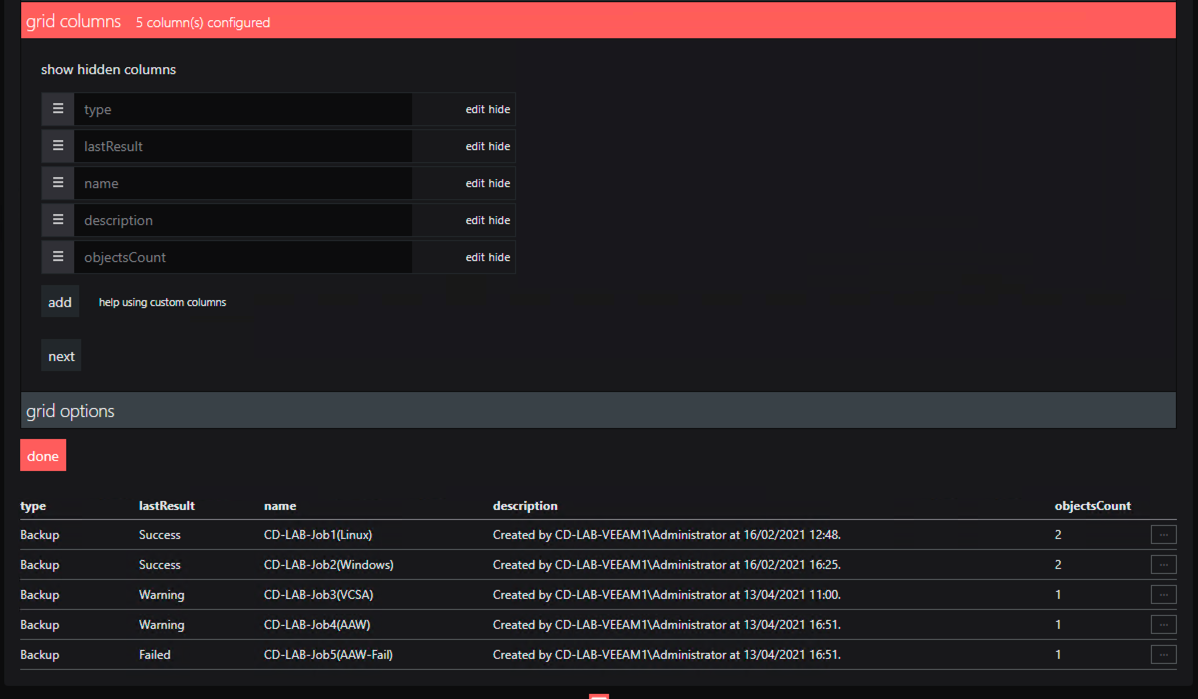
- We can re-arrange the columns by clicking and dragging the 3 parallel lines next to each column
- Click in the column name box to rename the columns and click next
- Grid Options can be left blank. Click done
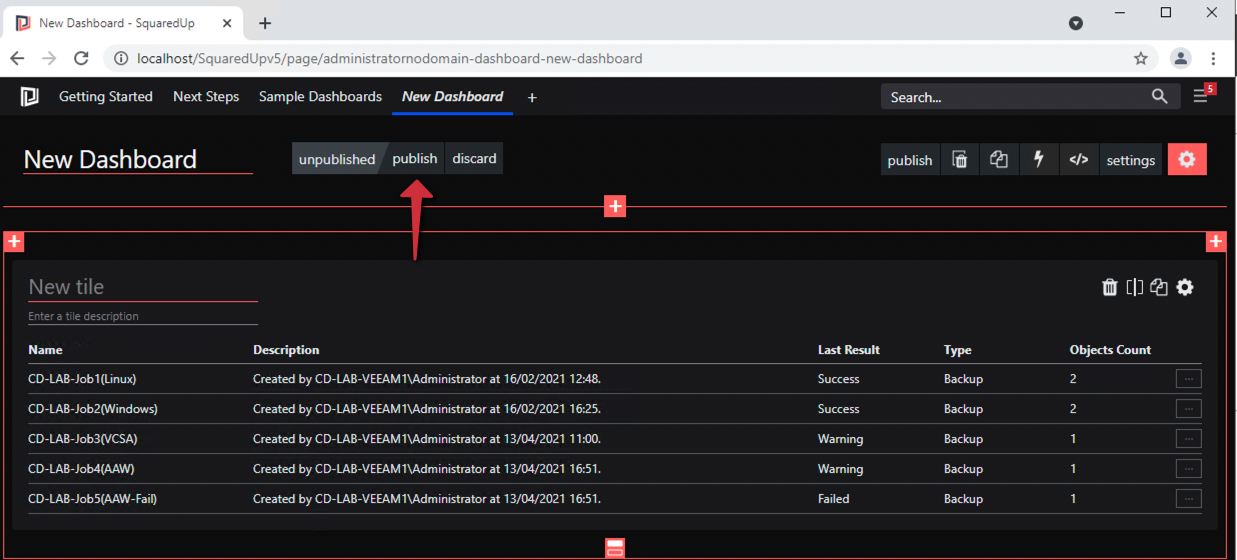
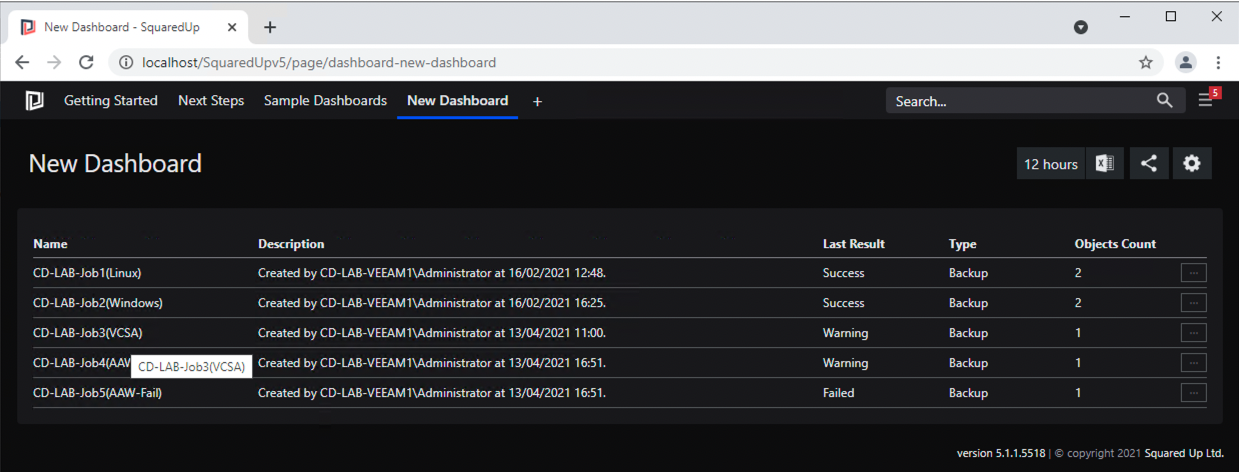
- Now click on Publish to make the tile available in the dashboard
 |
|
Import Dashboard
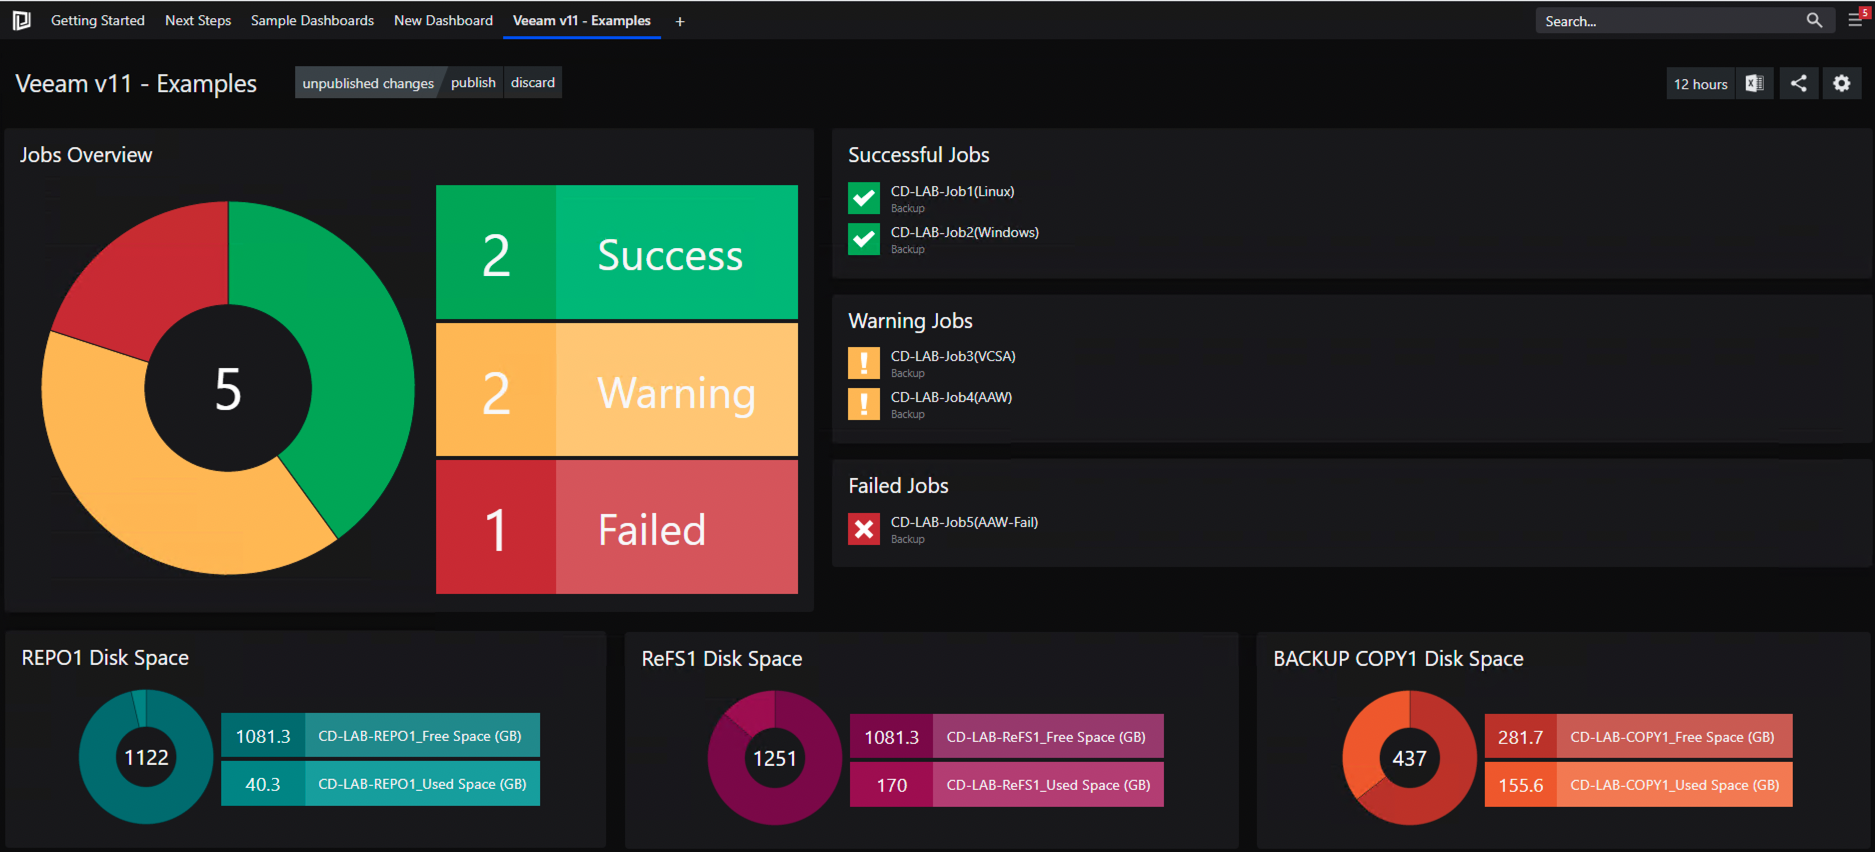
To save you some time and give you an idea of what other data and visualisations you can create with SquaredUp, here is a pre-made Veeam VBR V11 dashboard I have created for you to use veeam-vbr-v11-dashboard.json
- To import json for a dashboard, create a new blank dashboard by clicking on ‘+’ and selecting dashboard
- On the right hand corner of the new dashboard click on the </> icon to show the dashboard json
- Now select all the code from the Dashboard JSON with ctrl+a and delete
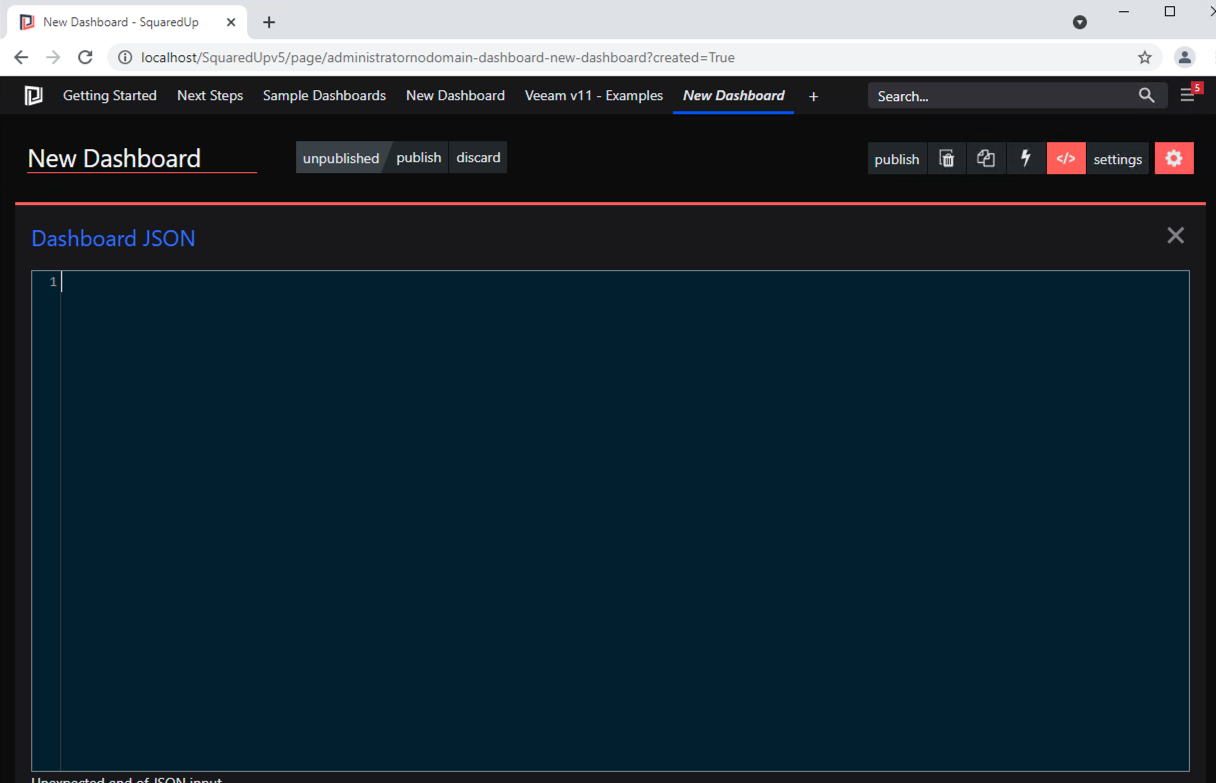
- Now copy/paste, the JSON from the file provided , into the Dashboard JSON, and click apply changes
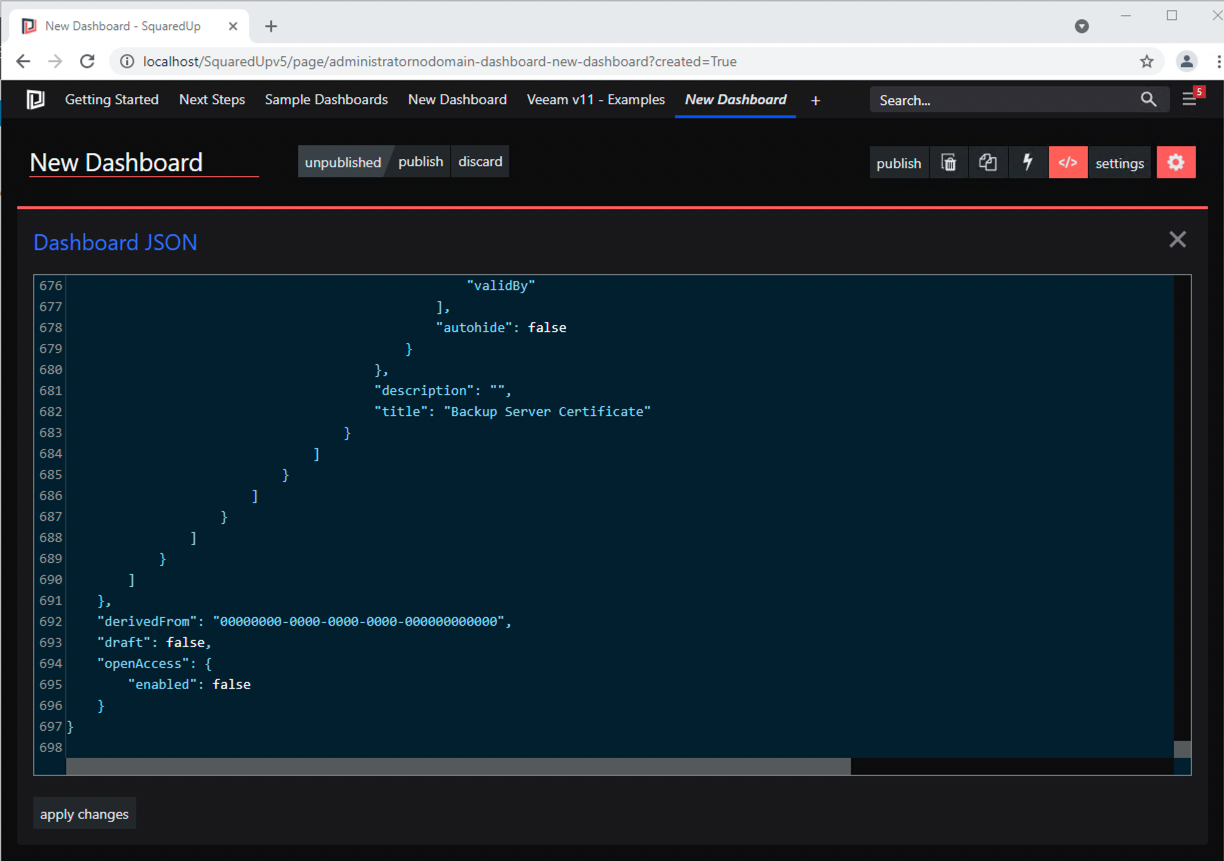
- The example dashboard should now attempt to populate
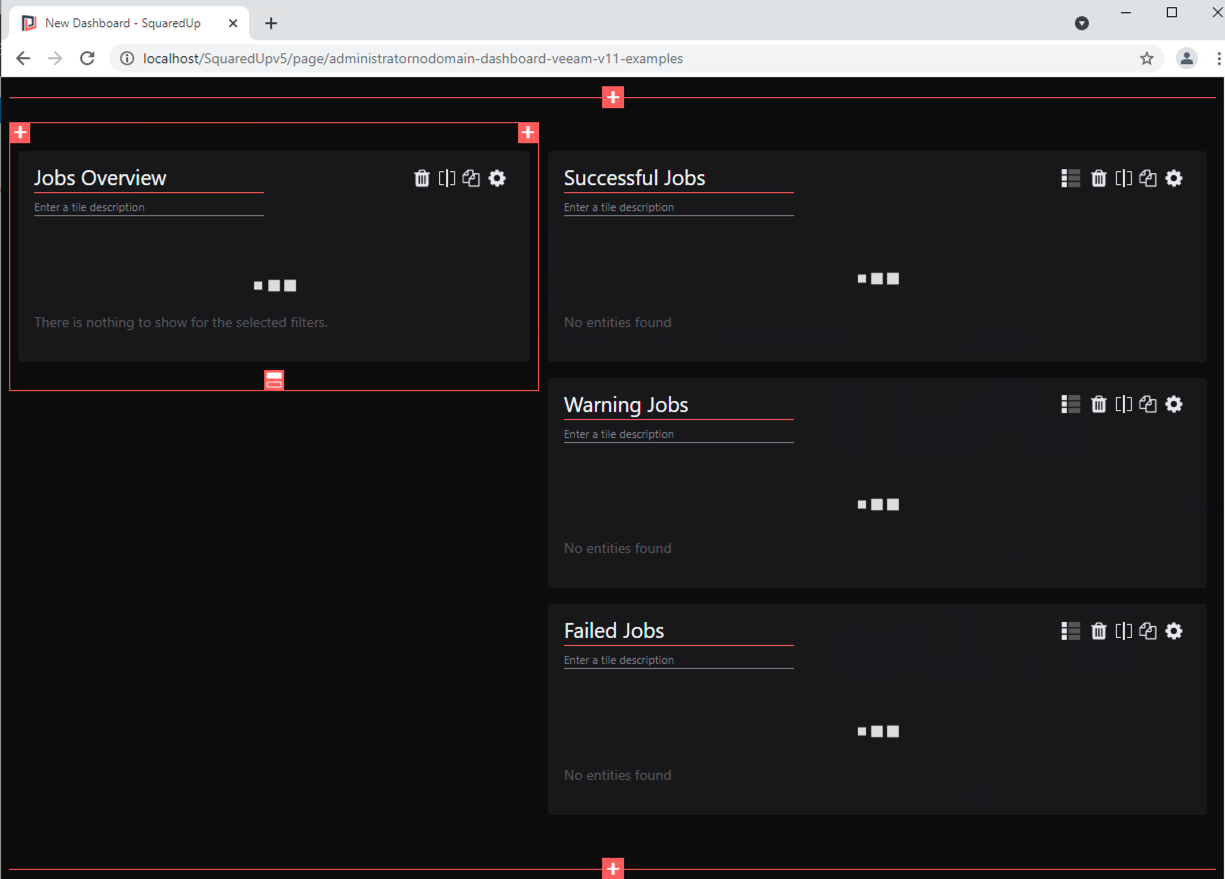
- You may need to update the individual tiles to match the integration service name and/or refresh the tiles.
Click on the gear icon on the tiles, verify the service provider matches the service name you provided, and step through the tile settings using the next button on each section.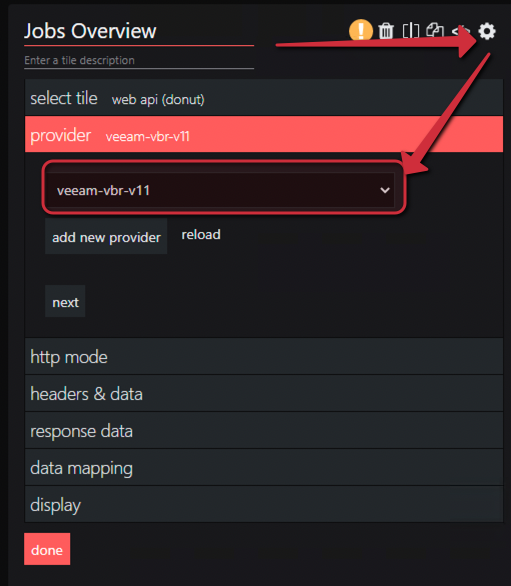
- On the repository donut tiles you will need to edit the http mode and provide the name of the repositories you are interested in
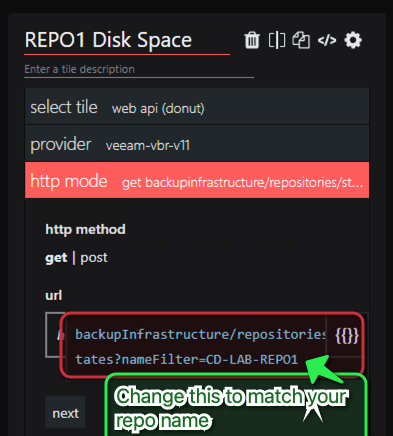
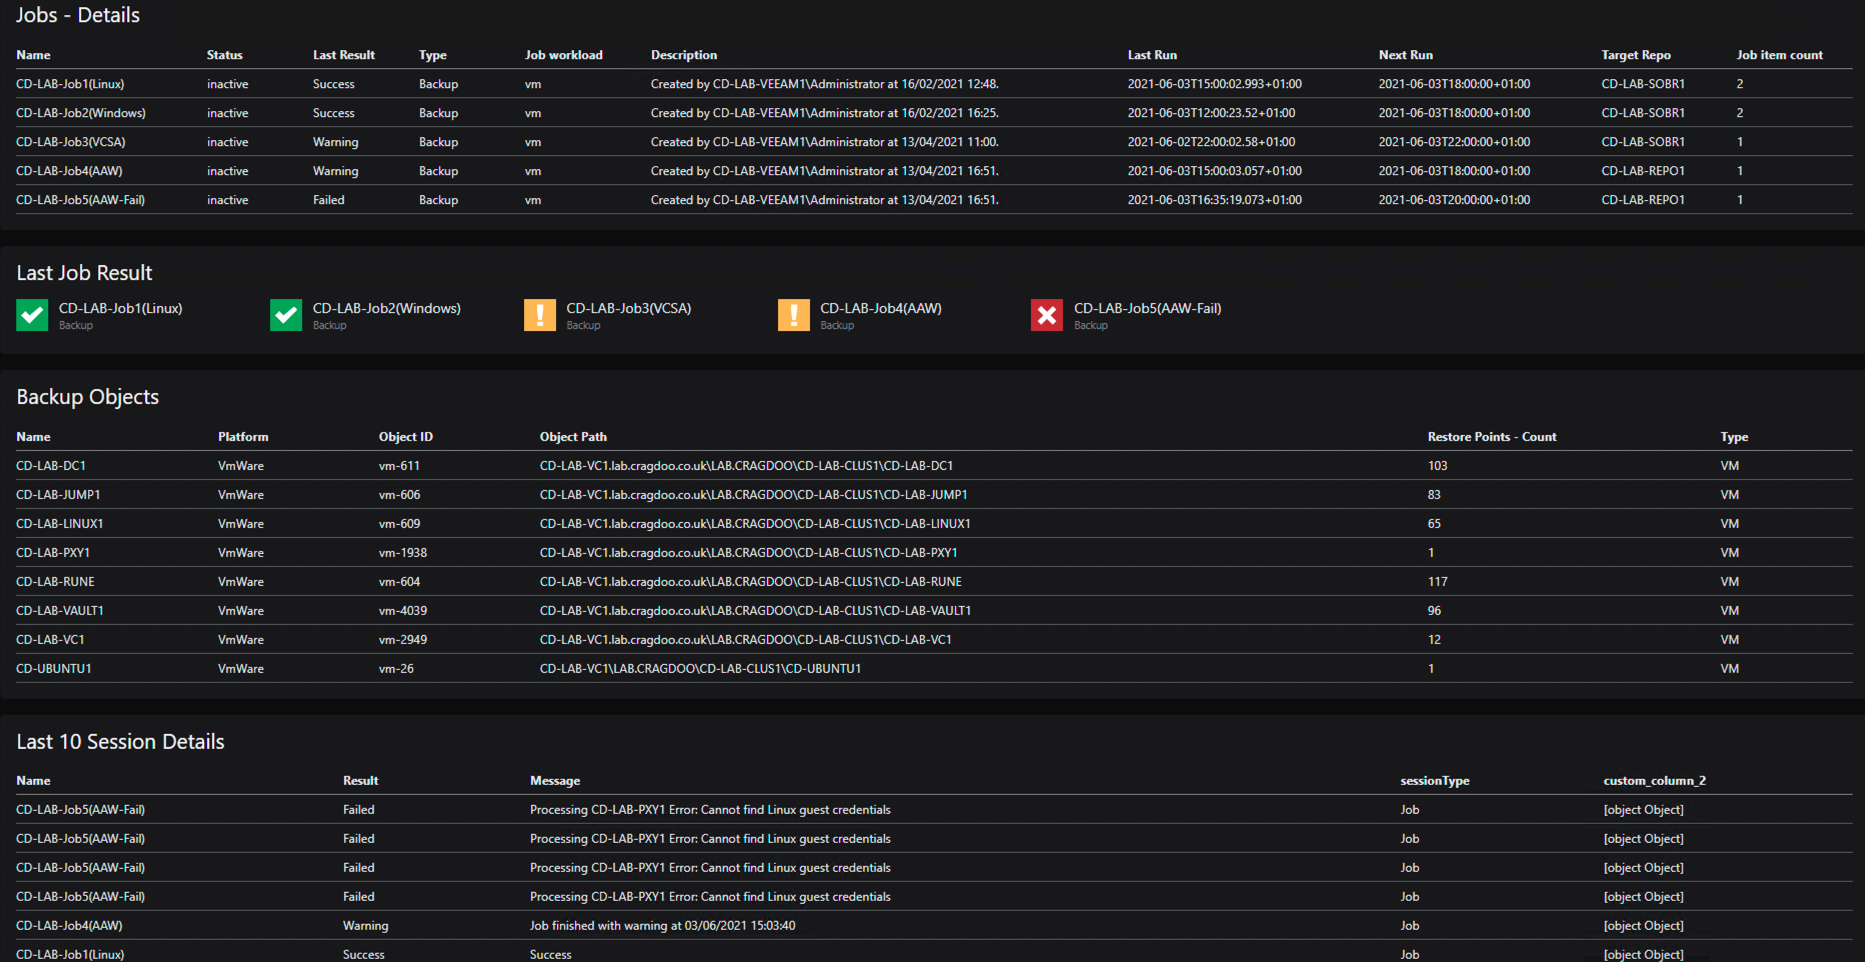
Once you have updated the tiles, the dashboard should now populate with data from your own VBR instance.
**NOTE** The lifetime value of the Veeam VBR v11 access token is 15 mins, after this time you will need to refresh your integrations settings. At the time of writing this blog post (4th June 2021) SquaredUp support are actively look at this access token issue. I will update this post when a fix has been implemented.
And there you have it a great, free way to visualise your Veeam VBRv11 data, using the new REST APIs in conjunction with SquaredUp’s new Dashboard Server product, with no agents or DBs to setup/maintain.
So if you’re looking for a dashboard product to help visualise your data, go check out SquaredUp Dashboard Server.