Part 2
In part 1 I gave a brief overview of the requirements and design, now I’ll go through Veeam configuration.
Veeam Configuration
The first step to be tackled was to add the Production cluster (PRD-CLUSTER), DR host (DR-HOST) and both proxies (PRD-VPXY1 & DR-VPXY1) to the Backup Infrastructure within Veeam. While the DR host is only a single VMware vSphere 5.0 host, it is managed by a vCenter server, DR-VC1, this also had to be added to.
This is another point made in the Veeam best practises
-
Veeam Backup server should have access to vCenter server, ESX(i) hosts, and both source and target backup proxies.
-
Source backup proxy should have access to the Veeam Backup server,source host, target proxy, and source vCenter server.
-
Target proxy should have access to the Veeam Backup server, source proxy, target host,and target vCenter server.
The network team had to get involved at this stage to allow VLAN A and VLAN B (Management VLAN) to communicate with one another, as they were on separate subnets. The same applied to VLAN C and VLAN D, replication VLANs, different subnets.
Taking each point in turn :- (From the diagram)
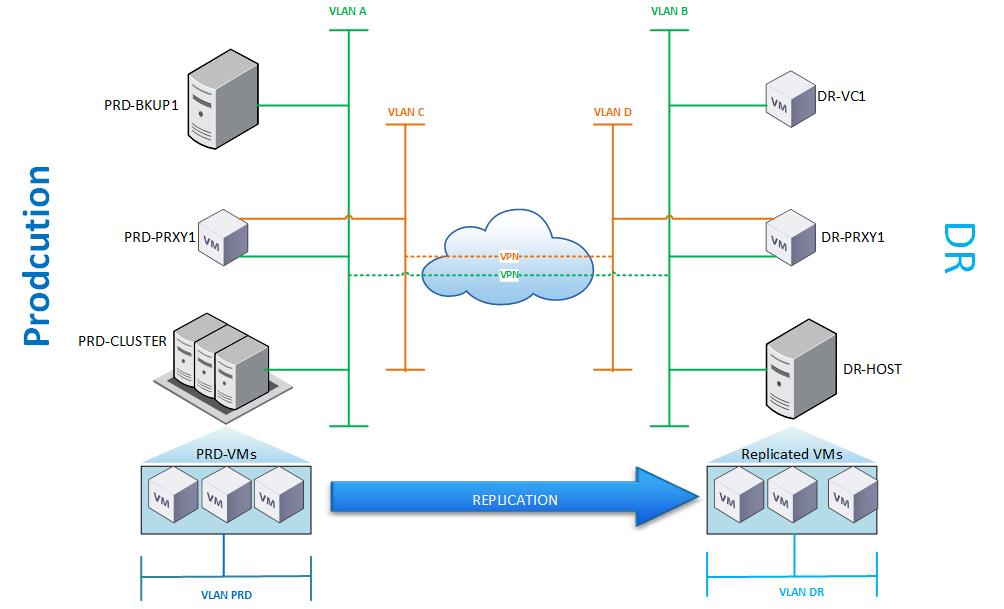
- PRD-BKUP1 had to be able to communicate with DR-PRXY1 on the management address on VLAN B from VLAN A.
- PRD-PRXY1 had to be able to communicate with PRD-BKUP1, PRD-CLUSTER on the management address on VLAN A, but the communication between PRD-PRXY1 and DR-PRXY1 would have to be via they replication network/VLAN. This was achieved by using entries in the local host file on the proxy servers.
- DR-PRXY1 had to be able to communicate with PRD-BKUP1 on management address on VLAN A from VLANB, and to DR-HOST on VLAN B. Again the communication to PRD-PRXY1 had to be via the replication network/VLAN.
Adding Proxies
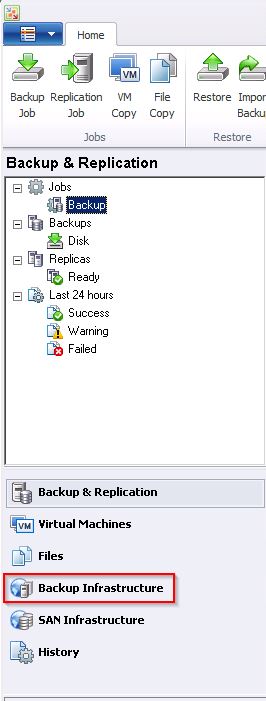
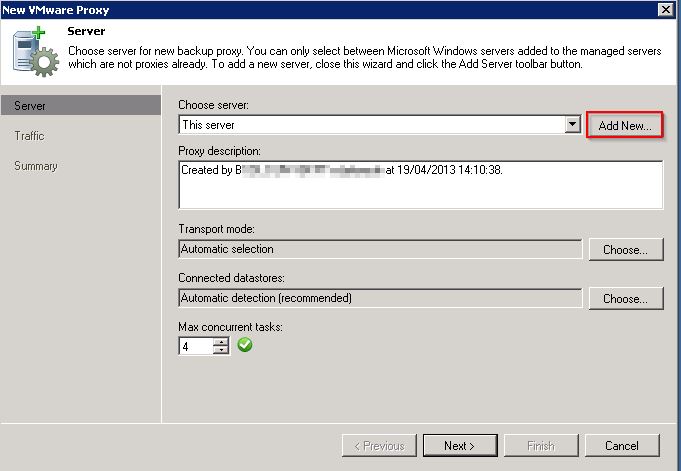
1. From the Veeam console click on Backup Infrastructure
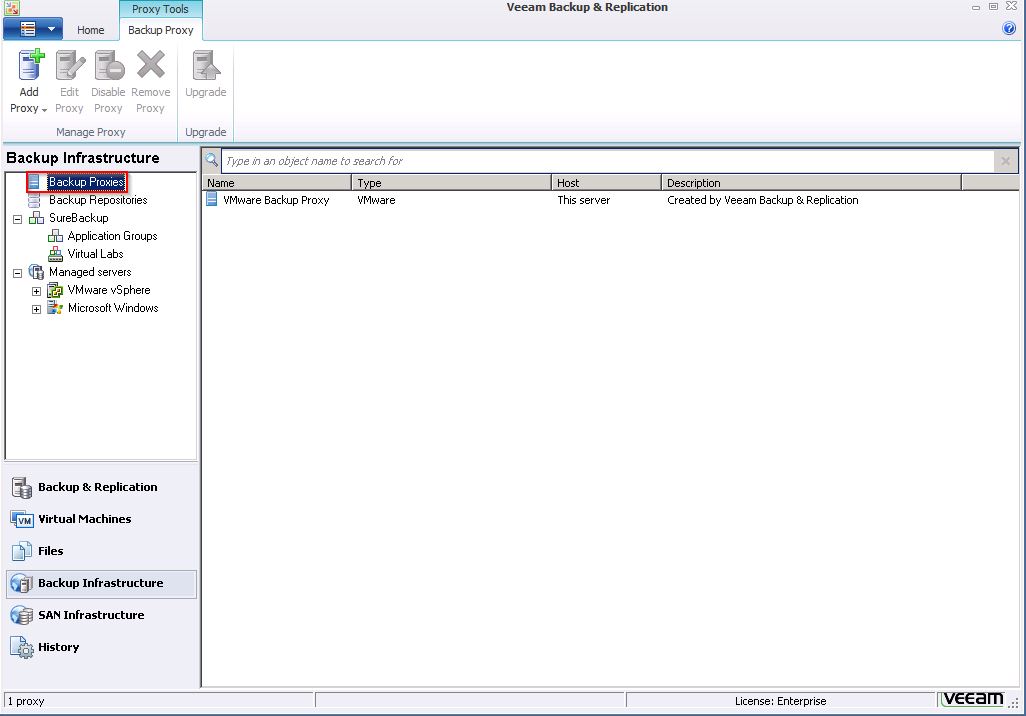
2. Select Backup Proxies
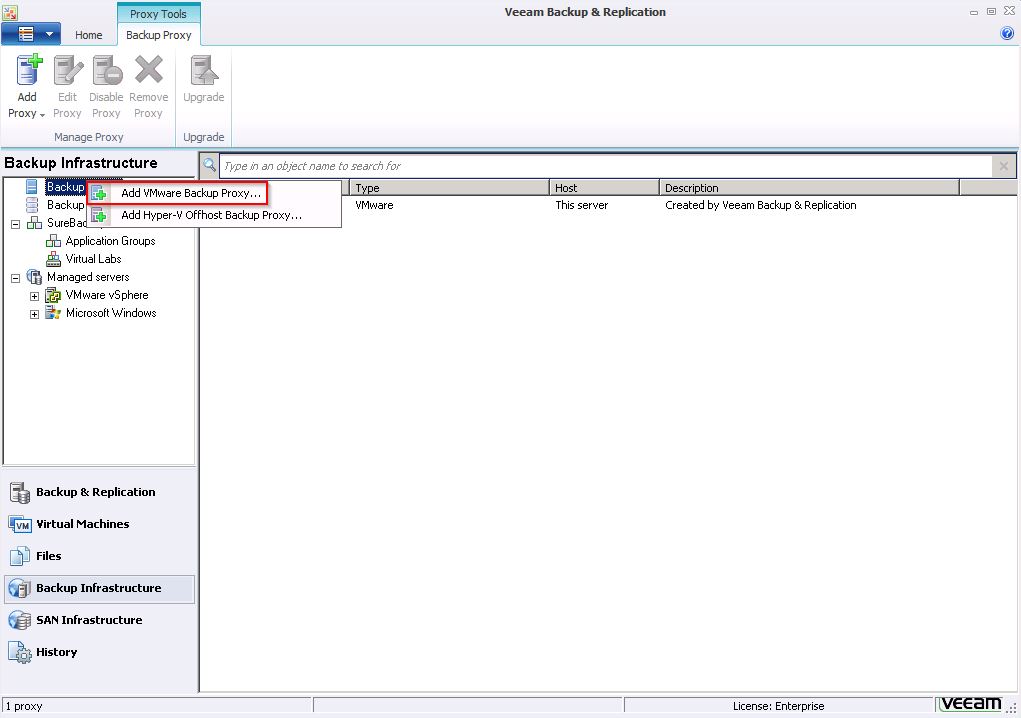
3. Right click and select Add VMware Backup Proxy
4. Select Add New (if server hasn’t been added already)
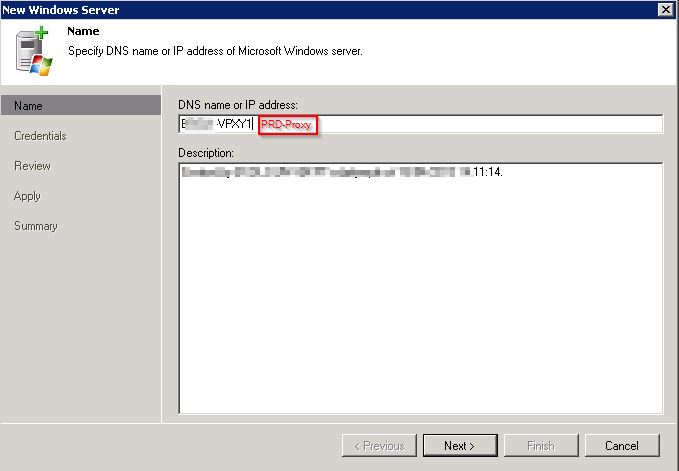
5. Enter the DNS name or IP address of the proxy server.
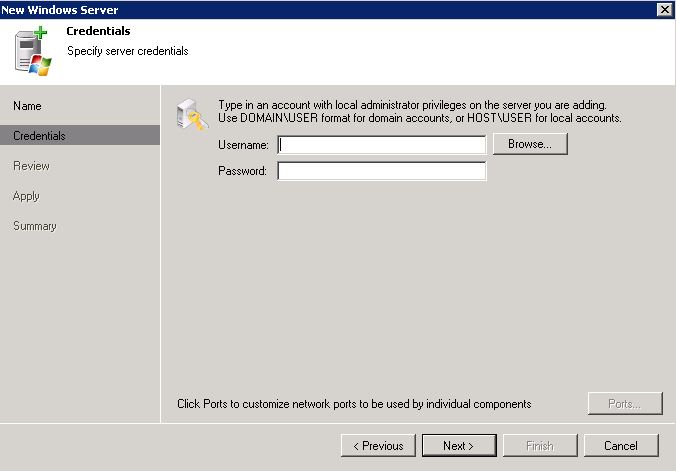
6. On the next screen enter username and password , either local admin account or domain account with local privileges.
7. Click Next at review screen
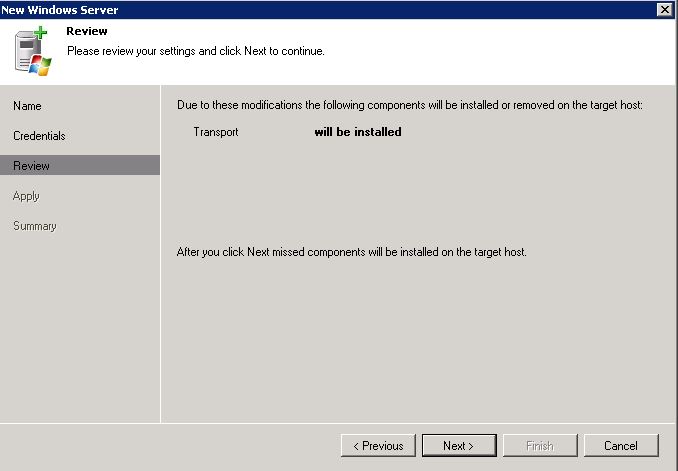
8. Veeam will now install the Veeam Transport onto the destination proxy. click Next when completed.
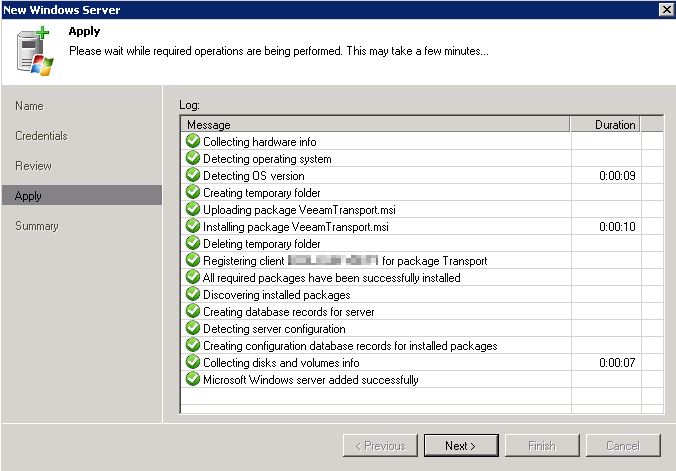
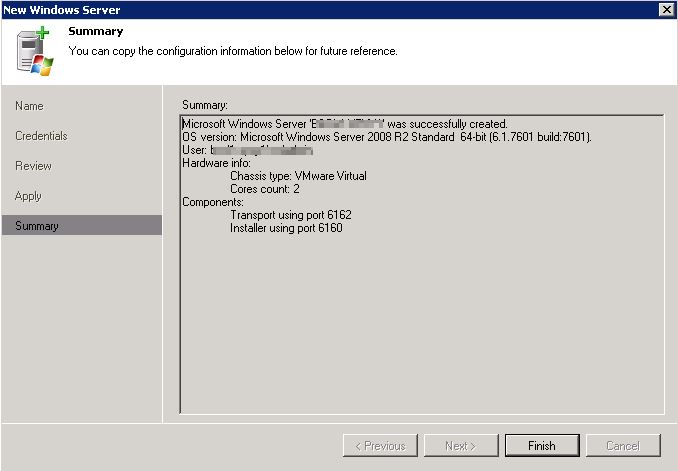
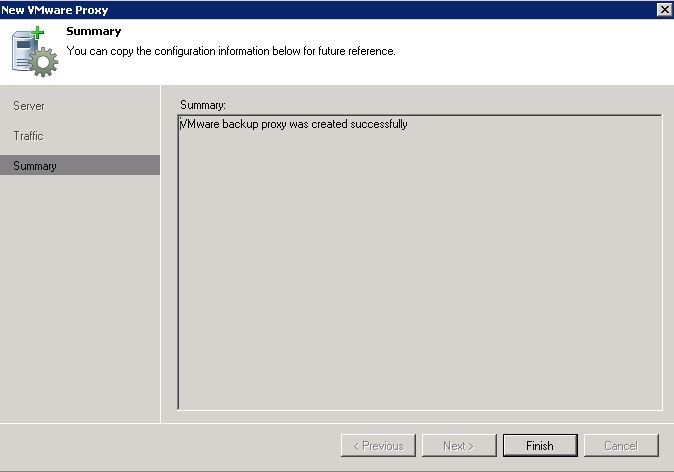
9. Click Finish on the summary screen.
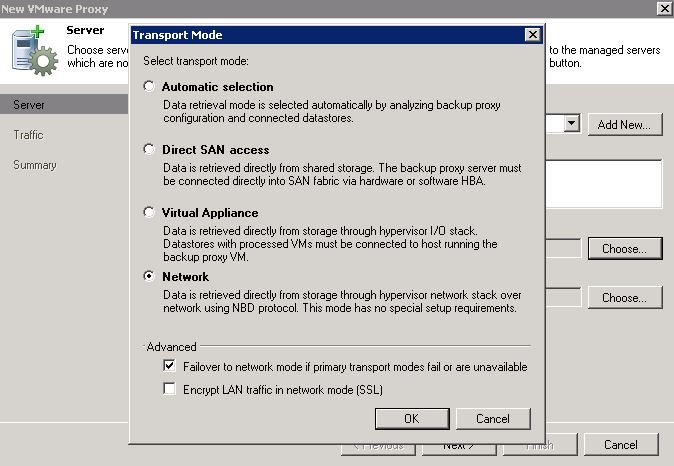
10. As the proxies didn’t have direct access to the storage, the transport mode had to be specified as Network.
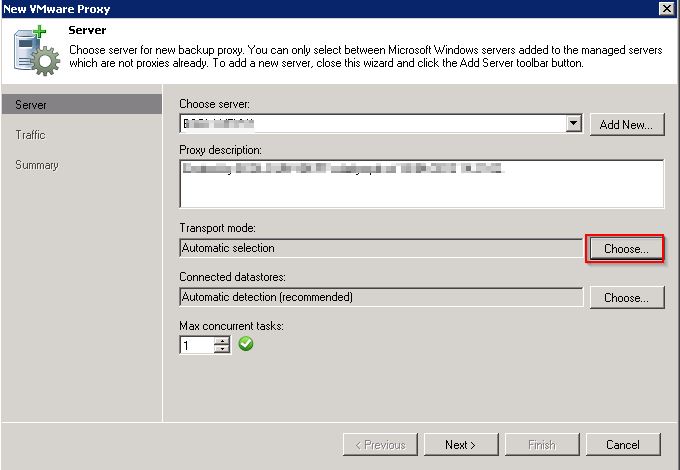
11. Throttling was left unconfigured, but can be set to restrict
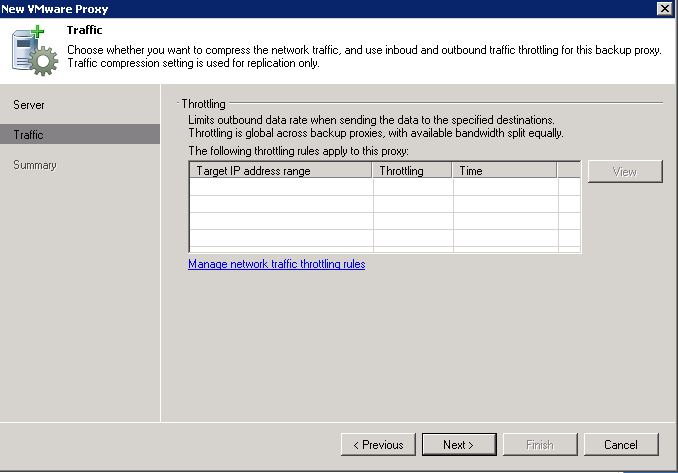
12. Finally click on Finish to complete the proxy installation.
If adding the proxies by DNS name, then it goes without saying that you should ensure the name successfully resolves either through a domain DNS server or local hosts file.
In the final part I’ll go through the setup of the replication job and some errors encountered along the way.
2 Comments
Comments are closed.